It's time to overhaul the bearings on this thing. I'll start with the wheels:
I usually use a cone wrench and an adjustable to loosen the locknut, then unscrew them both to pull the axle and bearings out. This hub isn't rusty, that's actually dried up grease from the inside. You can imagine there's nothing left to protect the bearings.
The freewheel needs to come off to do the rear wheel bearings. I still don't have a 2 prong tool for Suntour freewheels (I should ask for one as a Christmas present), so it's time to remove it the "other" way:
Hammer and punch on the lockring, unscrew it clockwise:
Slowly pull everything apart so you don't loose the little ball bearings inside:
Here's the bare core piece that needs to be unscrewed:
Big adjustable wrench on the pawls did the trick:
Now with the core off, you can take the axle out the same way as the front hub:
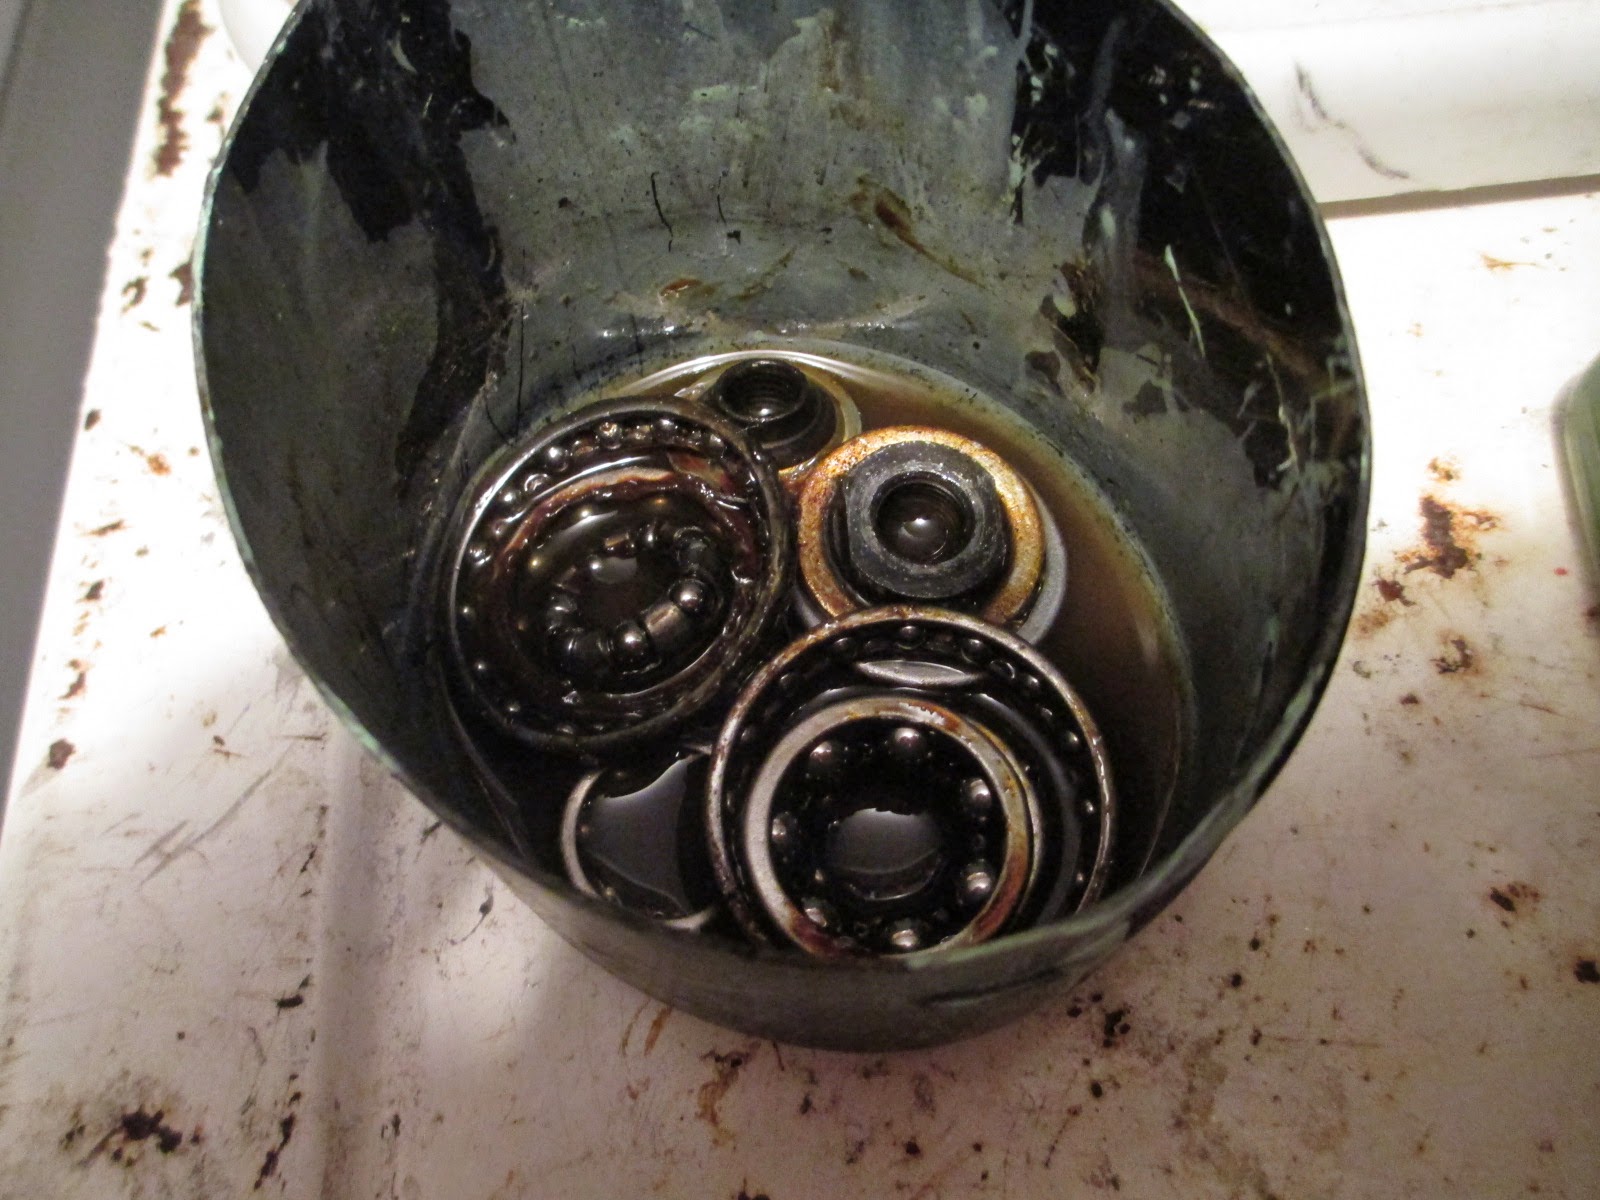
I like to soak all the bearings together in paint thinner, it's the easiest way to get them really clean.
That freewheel needs to go back together now, so use grease to hold the little balls in place, then twist the core and gear cluster together until they're seated:
Suntour Perfect freewheels are probably the easiest to reassemble, just make sure you put the shims back and tighten the lock ring really well:
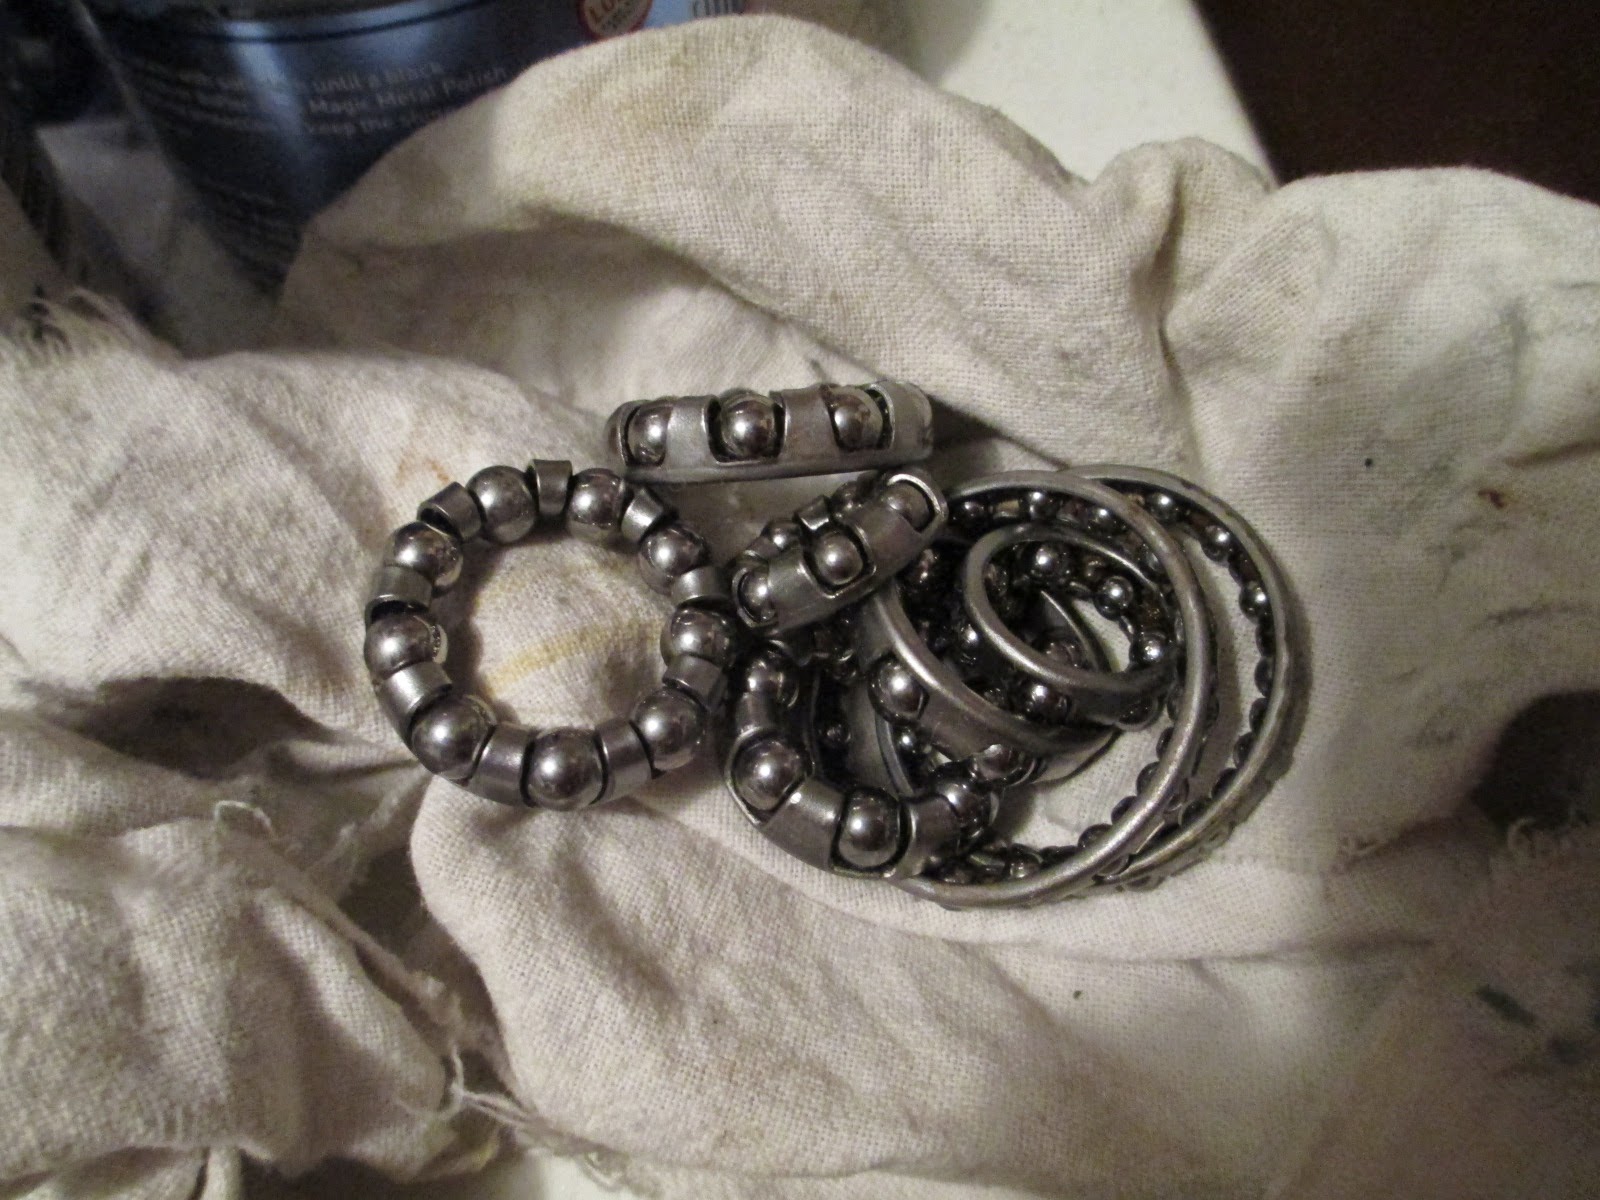
Bearings are done:
With all the bearing surfaces clean you can pack them with grease and reassemble everything:
If you have ball bearings in a retainer, make sure they face the right way. Slide the axle back in, then the cone and locknut you removed earlier. Adjust the bearings so they spin easily without play.
Do the same for the headset bearings:
Add the top race to secure the fork, then the spacer:
Tighten the locknut, and check the fork for play or binding. The bearings will tighten up as you tighten the nut, so you need to guess how much to tighten the top race beforehand:
Now pack the bottom bracket cups and bearings with grease:
Reassemble everything loosely in the bottom bracket shell:
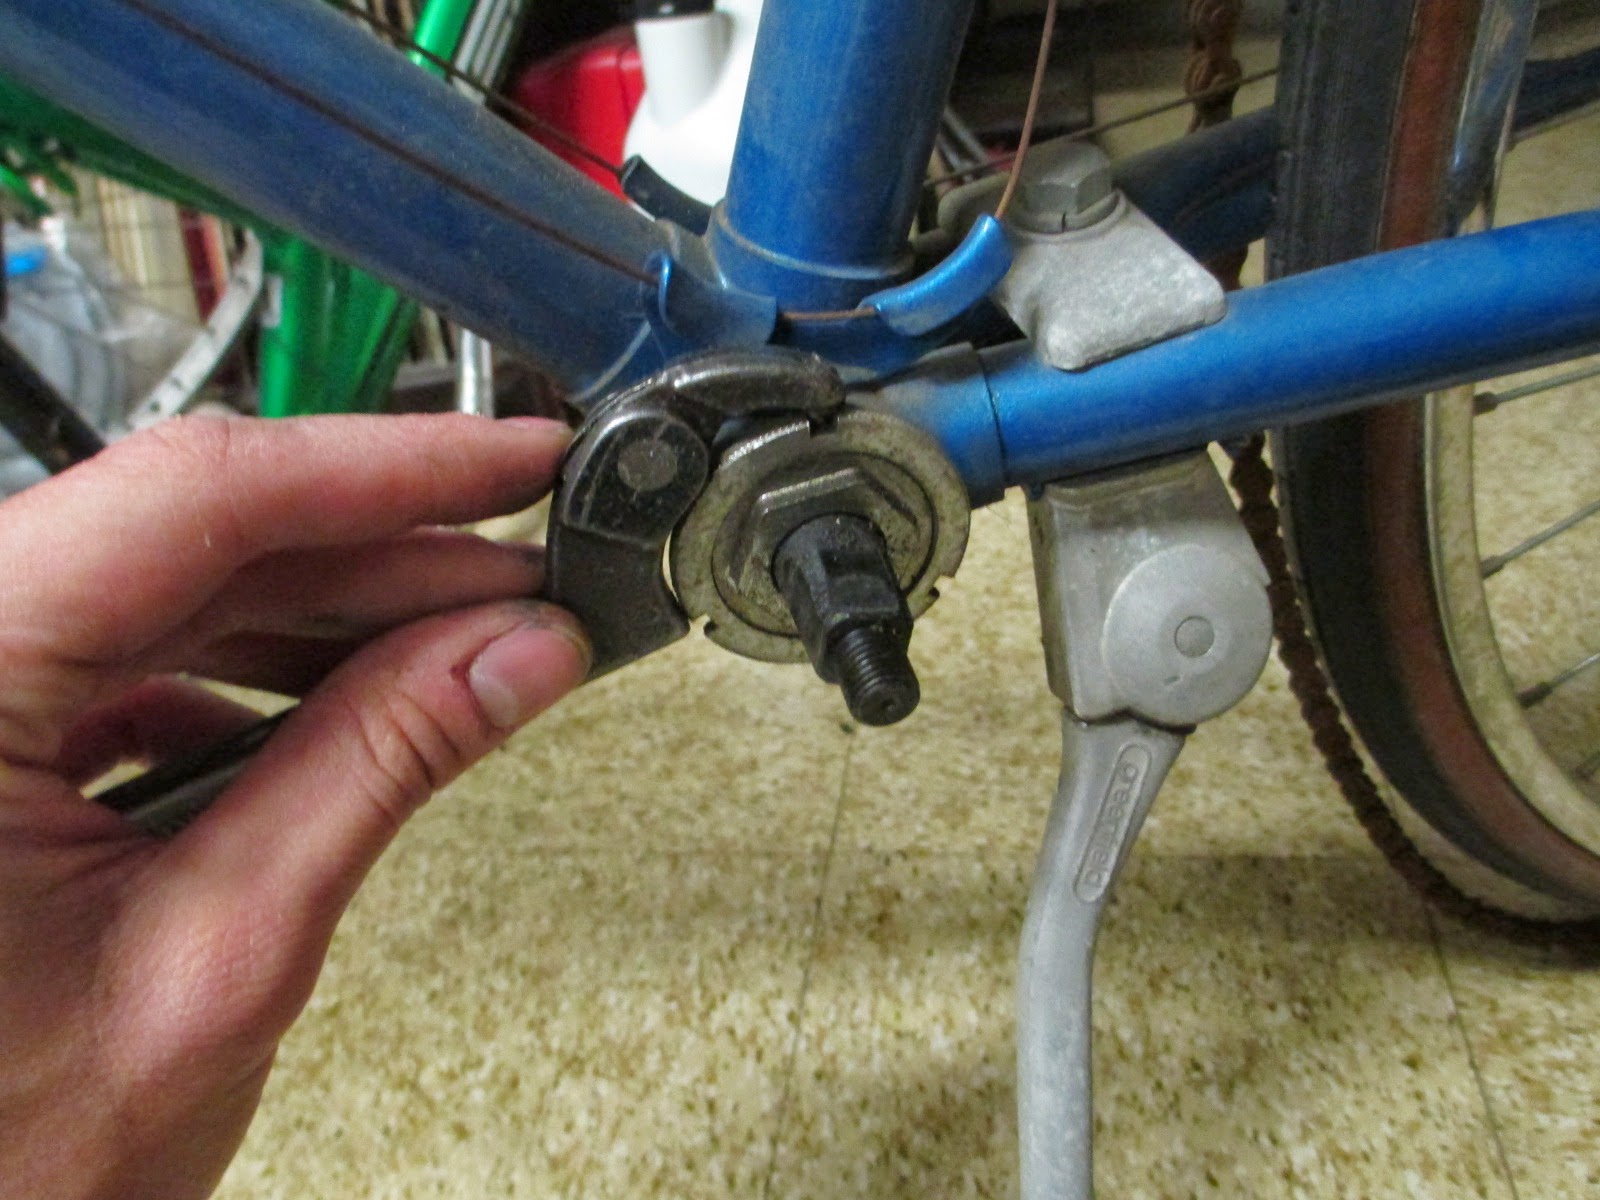
Tighten the fixed cup all the way (make it as tight as you can), then adjust the bearings with the adjustable cup on the left side. When the spindle turns easily without play, tighten the lockring:
Tighten the crank nuts to press the cranks onto the spindle (these need to be pretty tight, so don't be timid with your socket wrench):
Now the brakes can go back on. Center the pads around the rim, then tighten the 10mm nut on the back to keep the calipers in place:
Adjust the limit screws on the rear derailleur so the chain doesn't overshoot the gears:
Also adjust the front derailleur so it won't rub the chain:
With the cables oiled and adjusted, this bike rides really nicely. I was fixing this one up for a friend, but if I wanted to use this bike all the time then I would replace those foam handlebars grips with cork tape, and possibly put new tires on it.


