Wednesday, August 13, 2014

XTR Rear Derailleur Overhaul

I bought a used 8 speed Shimano XTR derailleur, and I thought it might be useful if I showed how to take one of these apart for cleaning. This one is an M910, but I would imagine this procedure would also apply to the original M900 models too. First the easy stuff.  

Remove both pulley bolts with a 3mm Allen key:

Now unscrew the cage stop with a #2 Philips screwdriver, and carefully let the spring unwind:
 
With the guide pulley out of the way, you can loosen the bolt that holds the pulley cage together:

You should be able to separate the cage from the derailleur. Keep track of all the little pieces, especially the little metal ring that sits over the end of the bolt:

Now we'll take apart the B knuckle. First stick a small flat screwdriver inside the c-clip and twist:

With the c-clip removed, you can wiggle the backing plate off:

Here is the derailleur taken apart now. Make sure to clean everything well:

Grease the barrel of the pulley cage bolt before reassembly:

Now slide the bolt back through the cage plate, and add the dust guard, spring, and metal ring. Pick one of the 2 holes for the spring to sit in. The hole that's further clockwise is the default setting, the other is the high tension setting:

I ended up using the normal setting for less chain drag (because race bike). Now you can slide the spring back into the knuckle. It's important that the other end of the spring fits in the hole that's inside the knuckle, so it can be a bit tricky to line everything up. Once it's back together, tighten the bolt:

Now wind the cage back and reinstall the stop screw:

Pack the empty knuckle with grease and reinstall the spring. Again, the spring needs to align with the hole in the knuckle:

Grease up the bolt and place the dust guard and backing plate back over the spring:

Here is the toughest part. With a set of pliers nearby, twist the backing plate until the tab lines up behind the stop on the knuckle. Here I used a small screwdriver against the bolt for leverage:

Use the pliers to press the backing plate against the knuckle while the plate is rotated behind the stop. Once they're together, use the pliers again to reinstall the c-clip to lock the assembly together:

Now you can reinstall the pulleys. This one has a weird aluminum aftermarket pulley, but even the stock ones have tiny cartridge bearings inside so there aren't any bushings to clean. You can still drip some oil around the bearing seals to keep them spinning easily.

Once you tighten the pulley bolts you're all done. This derailleur isn't really much different than the cheaper ones, but even after 20 years of use (and some likely abuse) this one has zero play in the pivot points. I guess that says something about the quality that went into this thing.

Friday, August 8, 2014

Simplex Derailleur Overhaul

I was rebuilding an old Peugeot UO-8 and noticed the rear derailleur didn't have much tension on it. It's incredibly easy to take apart, so why not try to make it work better? I believe this one is a Simplex Prestige:

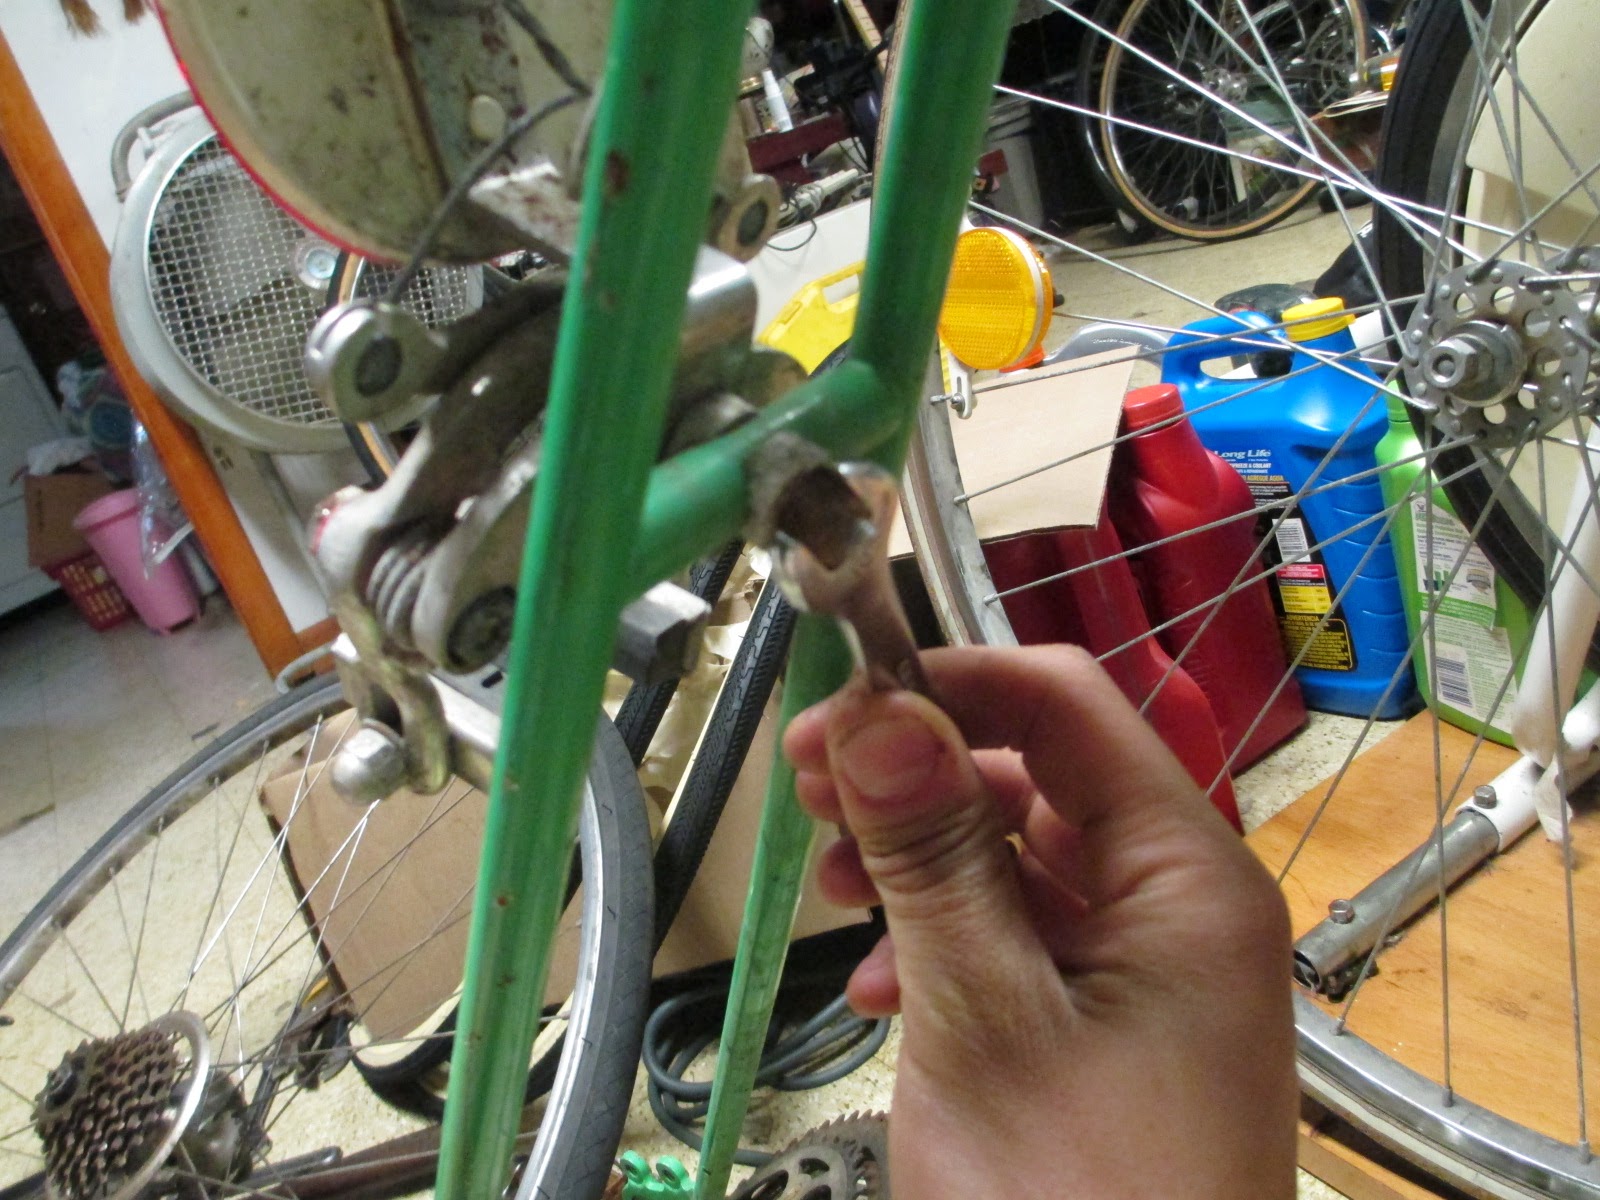
The first thing to do is unscrew the 14mm nut behind the mounting claw while holding the allen bolt steady on the other side:

Next you remove the stop screw for the pulley cage:
Then you can let the cage unwind. Now unscrew the other allen bolt holding the pulley cage to the derailleur:
Slide the allen bolts out. You can see the springs inside, which you can grease now:
As for the pulley cage, unscrew the 2 nuts holding the cage together:
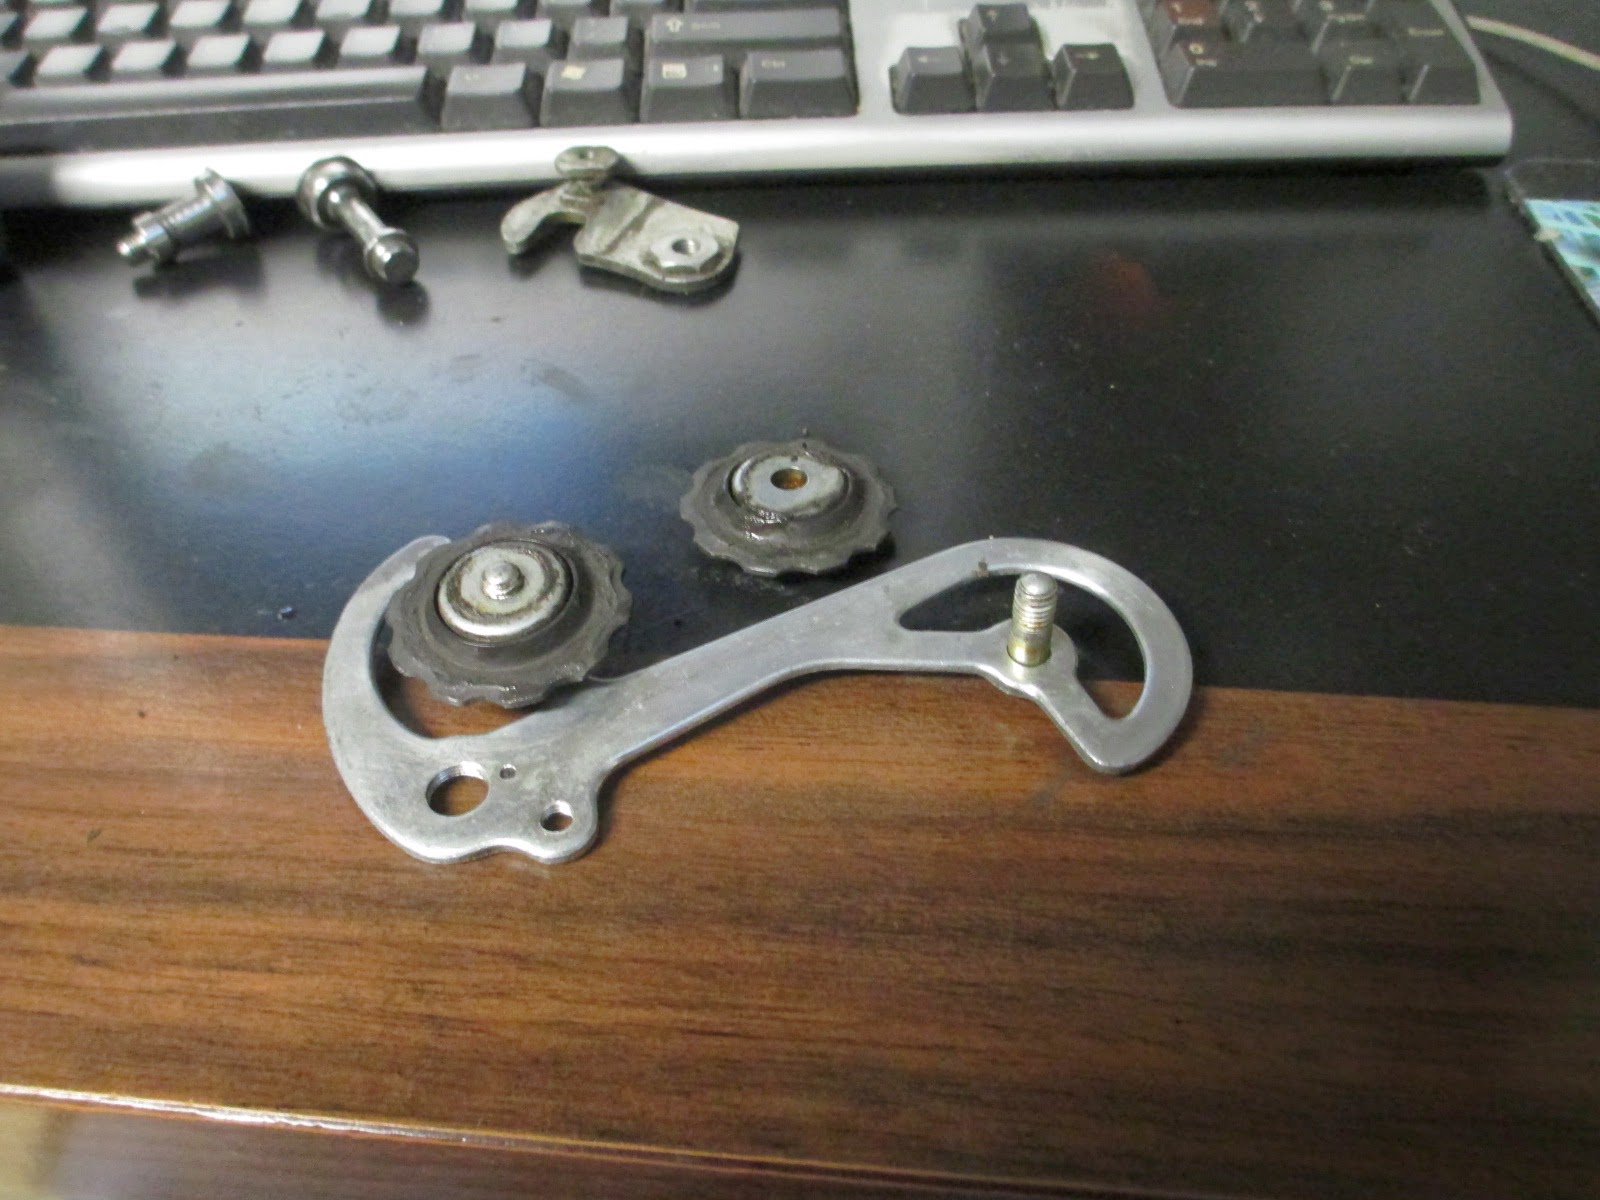
With the pulleys out, you can clean and oil the bushings that they spin on:
All taken apart:

Reassembly is the reverse of removal, except for that 14mm nut behind the mounting claw. You should screw it back on loosely, but wait until you install the derailleur on the bike before you tighten it. Once installed, wind the derailleur clockwise against the spring tension, then hold it steady while tightening that nut. You need to do it this way to give the spring some tension, otherwise the top pulley will touch the sprockets while you ride.

Thursday, August 7, 2014

Fuji Basketcase

My brother found a cheap Fuji Sports 10. I fixed up something similar 2 years ago, but this one definitely needs a full restoration:


The brake calipers and derailleurs are locked up from corrosion, so this will be fun... (at least the frame looks ok). It takes a special kind of negligence to mess up 2 Suntour derailleurs. Alright enough complaining about it, let's dig in. These cottered cranks need to come off, so first I'll unscrew the nut holding the pin in:

 
Then I'll press the pin out with a C-clamp and a wrench socket:


This one was stubborn, so I hit the end of the clamp with a hammer. The shock loosened the pin, and then the crank slid right off:


Now it's time to take that bottom bracket apart. I had to use a hammer and punch on the lockring because it was too tight for my lockring tool:


Thank goodness for mineral spirits:

The right side cup came out without too much trouble:

With that nasty chain soaking in motor oil, I can remove the rear derailleur to take it apart and get it working:


Using lots of penetrating oil I was able to unstick the front derailleur. It took about half an hour of wiggling it around with pliers before it would spring back on its own (this probably wasn't the best use of my time).

The brake calipers weren't working either, so I had to remove them:


Now for those headset bearings:


Without bearing retainers I get to chase the loose ball bearings all over my basement floor:


Here's the bike as it sits now:


Time to put this thing back together. First the wheel hubs:


I found lots of black gritty crud in the wheel bearings, so I'm pretty glad I cleaned and repacked them. It was the same story with the bottom bracket and headset. The cables surprisingly weren't very rusty, so I just cleaned, oiled, and reused them. Now the headset:


Handlebars and shifters:


Wheels and saddle:


Brakes and cables:


Derailleurs:


The Suntour Spirt front derailleur is pretty tricky to set up since the cage is so narrow. I ended up bending it outward slightly to keep it from rubbing the chain. This bike came out surprisingly well, and I didn't have to replace any of the mechanical parts.


After a few test rides and some more adjustments the Fuji rides great. It has a very light, springy feel and it's very agile. You would think it's a much more expensive bike if you didn't see the "Sports 10" label on the top. All that's left is to replace the old front tire and give it some fresh handlebar tape.