Wednesday, June 25, 2014

Schwinn Sprint Rebuild

It's time to overhaul the bearings on this thing. I'll start with the wheels:

I usually use a cone wrench and an adjustable to loosen the locknut, then unscrew them both to pull the axle and bearings out. This hub isn't rusty, that's actually dried up grease from the inside. You can imagine there's nothing left to protect the bearings.

The freewheel needs to come off to do the rear wheel bearings. I still don't have a 2 prong tool for Suntour freewheels (I should ask for one as a Christmas present), so it's time to remove it the "other" way:

Hammer and punch on the lockring, unscrew it clockwise:


Slowly pull everything apart so you don't loose the little ball bearings inside:

Here's the bare core piece that needs to be unscrewed:

Big adjustable wrench on the pawls did the trick:

Now with the core off, you can take the axle out the same way as the front hub:


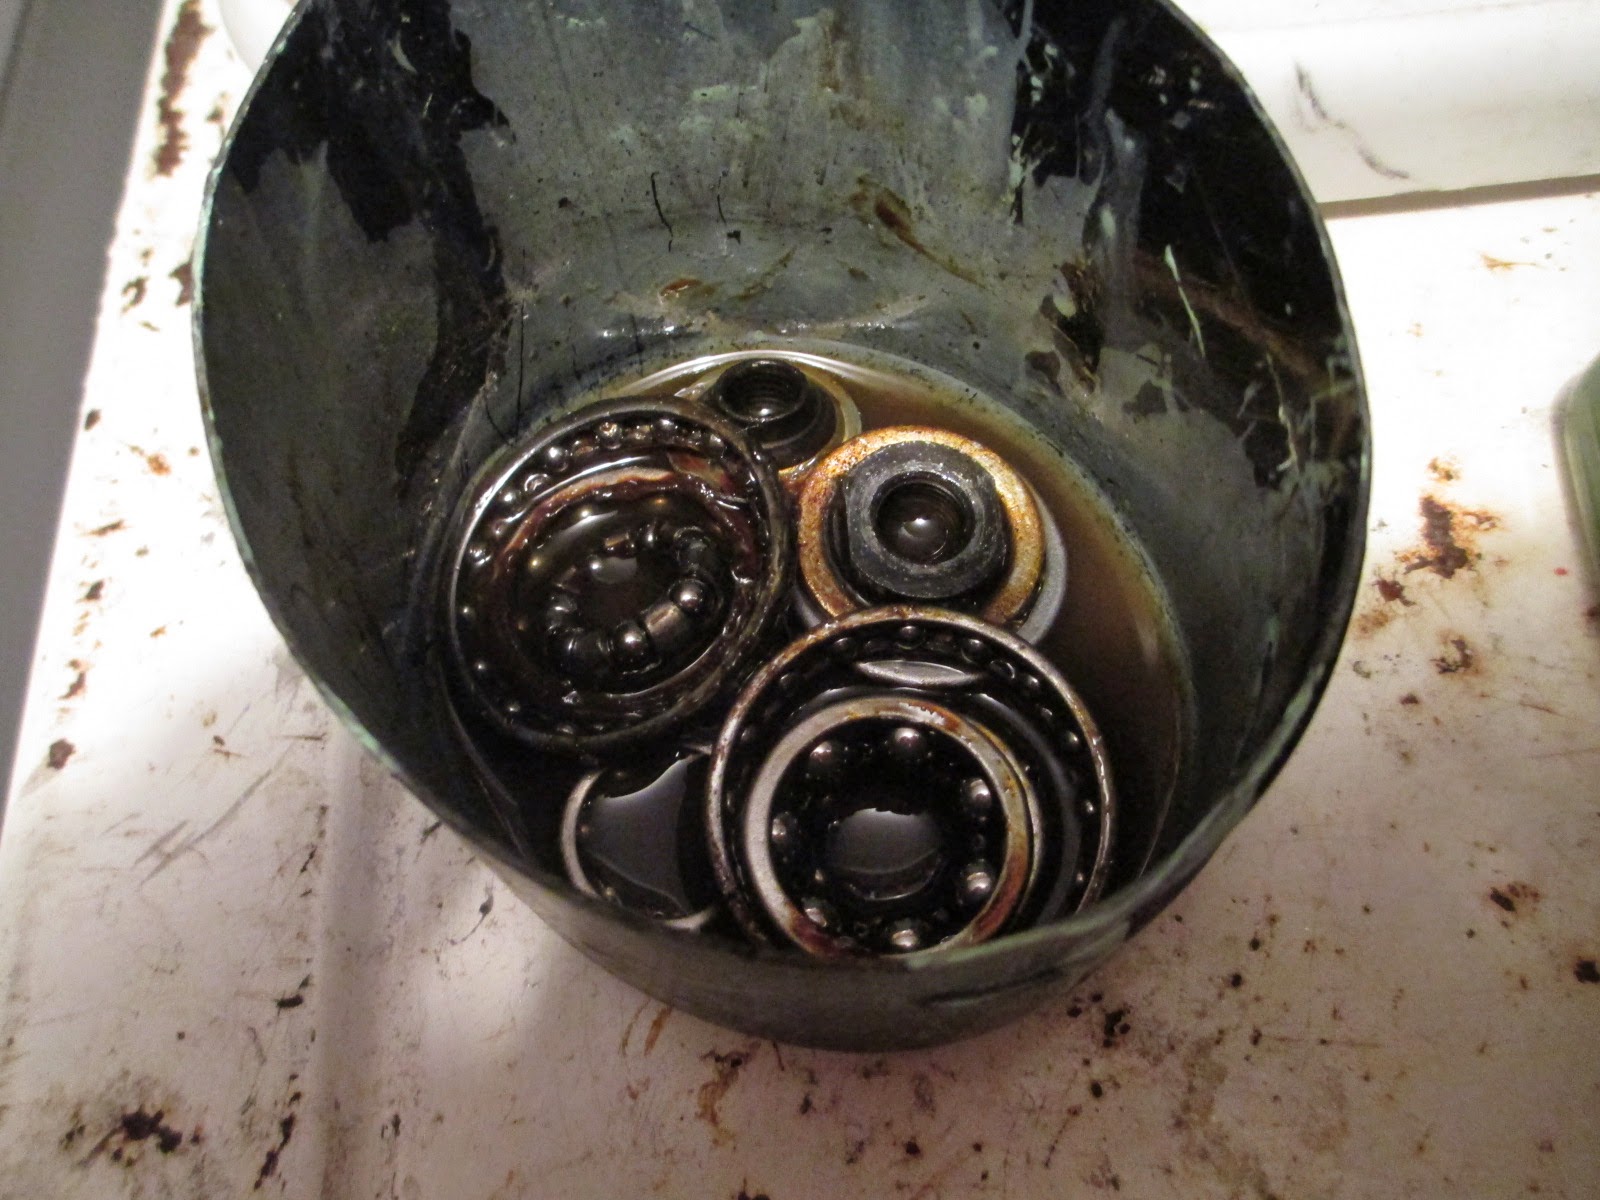
I like to soak all the bearings together in paint thinner, it's the easiest way to get them really clean.
That freewheel needs to go back together now, so use grease to hold the little balls in place, then twist the core and gear cluster together until they're seated:

Suntour Perfect freewheels are probably the easiest to reassemble, just make sure you put the shims back and tighten the lock ring really well:

Bearings are done:
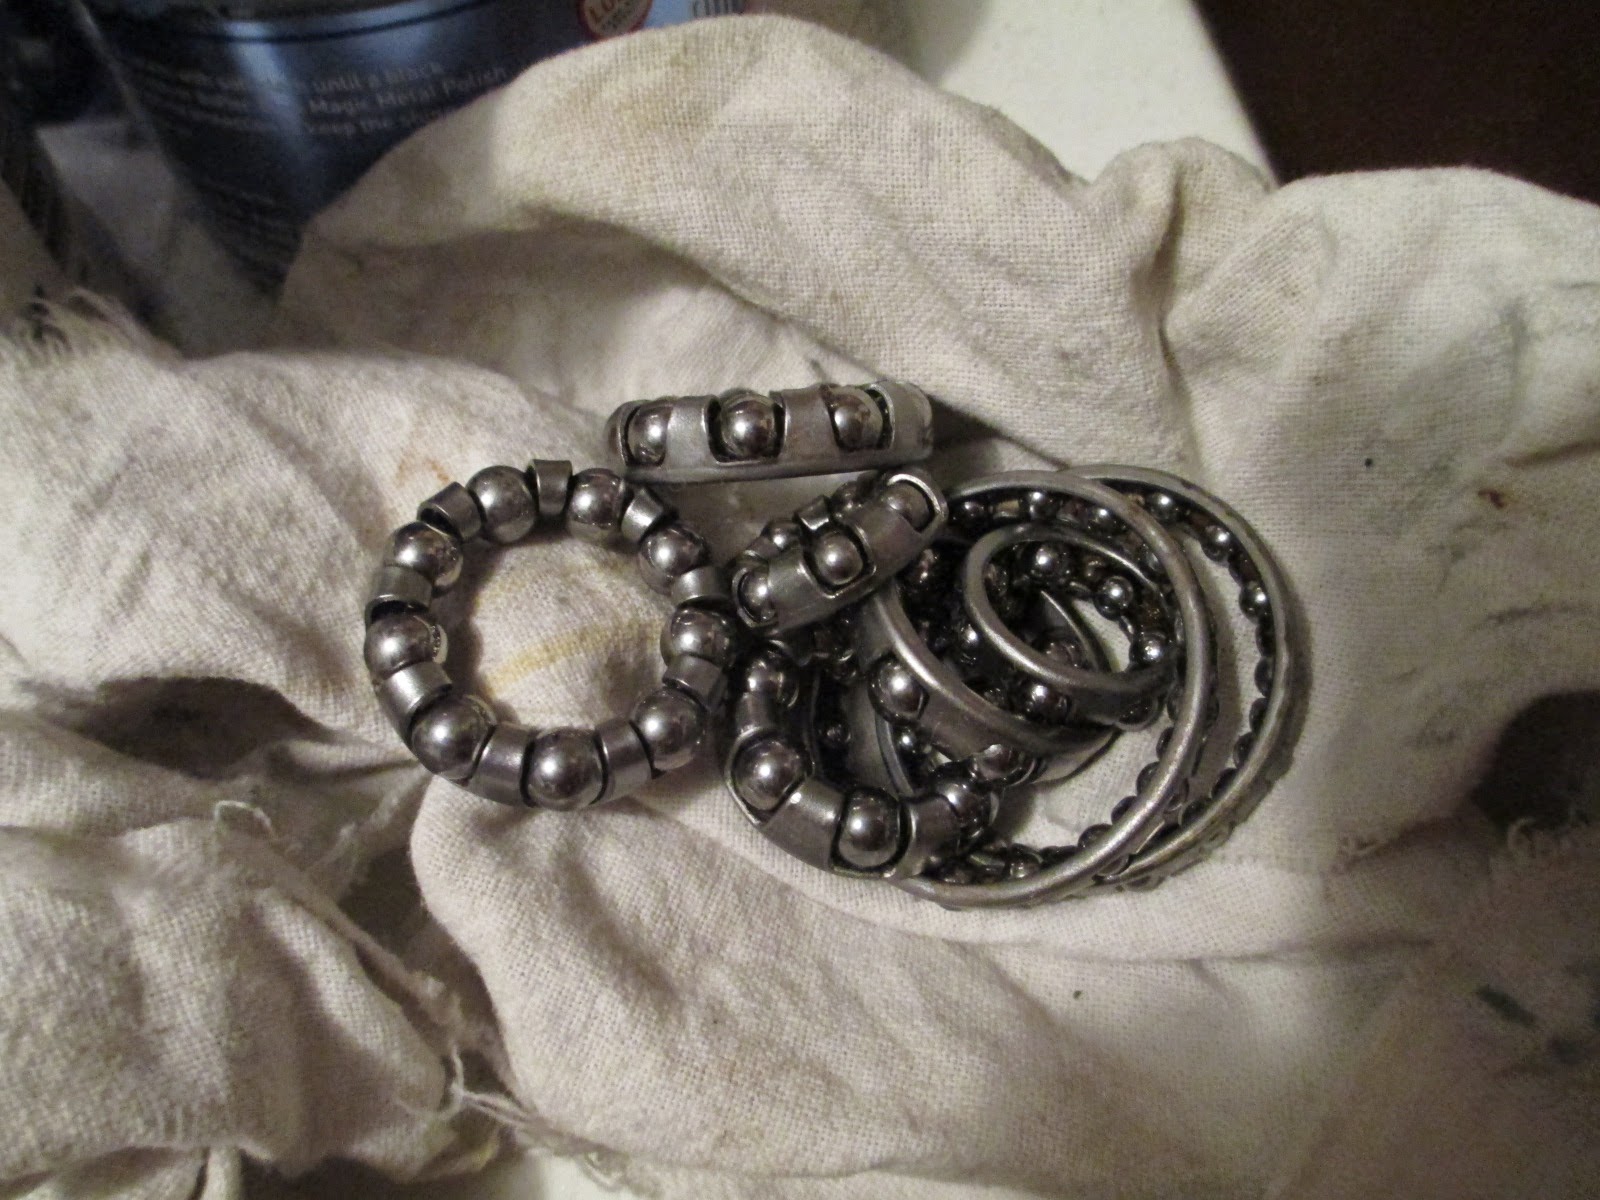
With all the bearing surfaces clean you can pack them with grease and reassemble everything:

If you have ball bearings in a retainer, make sure they face the right way. Slide the axle back in, then the cone and locknut you removed earlier. Adjust the bearings so they spin easily without play.

Do the same for the headset bearings:


Add the top race to secure the fork, then the spacer:

Tighten the locknut, and check the fork for play or binding. The bearings will tighten up as you tighten the nut, so you need to guess how much to tighten the top race beforehand:

Now pack the bottom bracket cups and bearings with grease:

Reassemble everything loosely in the bottom bracket shell:

Tighten the fixed cup all the way (make it as tight as you can), then adjust the bearings with the adjustable cup on the left side. When the spindle turns easily without play, tighten the lockring:

Tighten the crank nuts to press the cranks onto the spindle (these need to be pretty tight, so don't be timid with your socket wrench):

Now the brakes can go back on. Center the pads around the rim, then tighten the 10mm nut on the back to keep the calipers in place:

Adjust the limit screws on the rear derailleur so the chain doesn't overshoot the gears:

Also adjust the front derailleur so it won't rub the chain:

With the cables oiled and adjusted, this bike rides really nicely. I was fixing this one up for a friend, but if I wanted to use this bike all the time then I would replace those foam handlebars grips with cork tape, and possibly put new tires on it. 

Monday, June 23, 2014

Schwinn Sprint Teardown

Today I have an old Schwinn Sprint from the 1980s that could use an overhaul:


The chain is pretty rusty and the cables don't move so well. The dusty frame probably means it's been sitting for a number of years. Well, it's time to have some fun with it. This bike is pretty similar to the Fuji road bike I redid a while back. I'll start with removing the pedals and cranks this time:

14mm socket on the crank nut:

Puller tool for square tapered cranks:

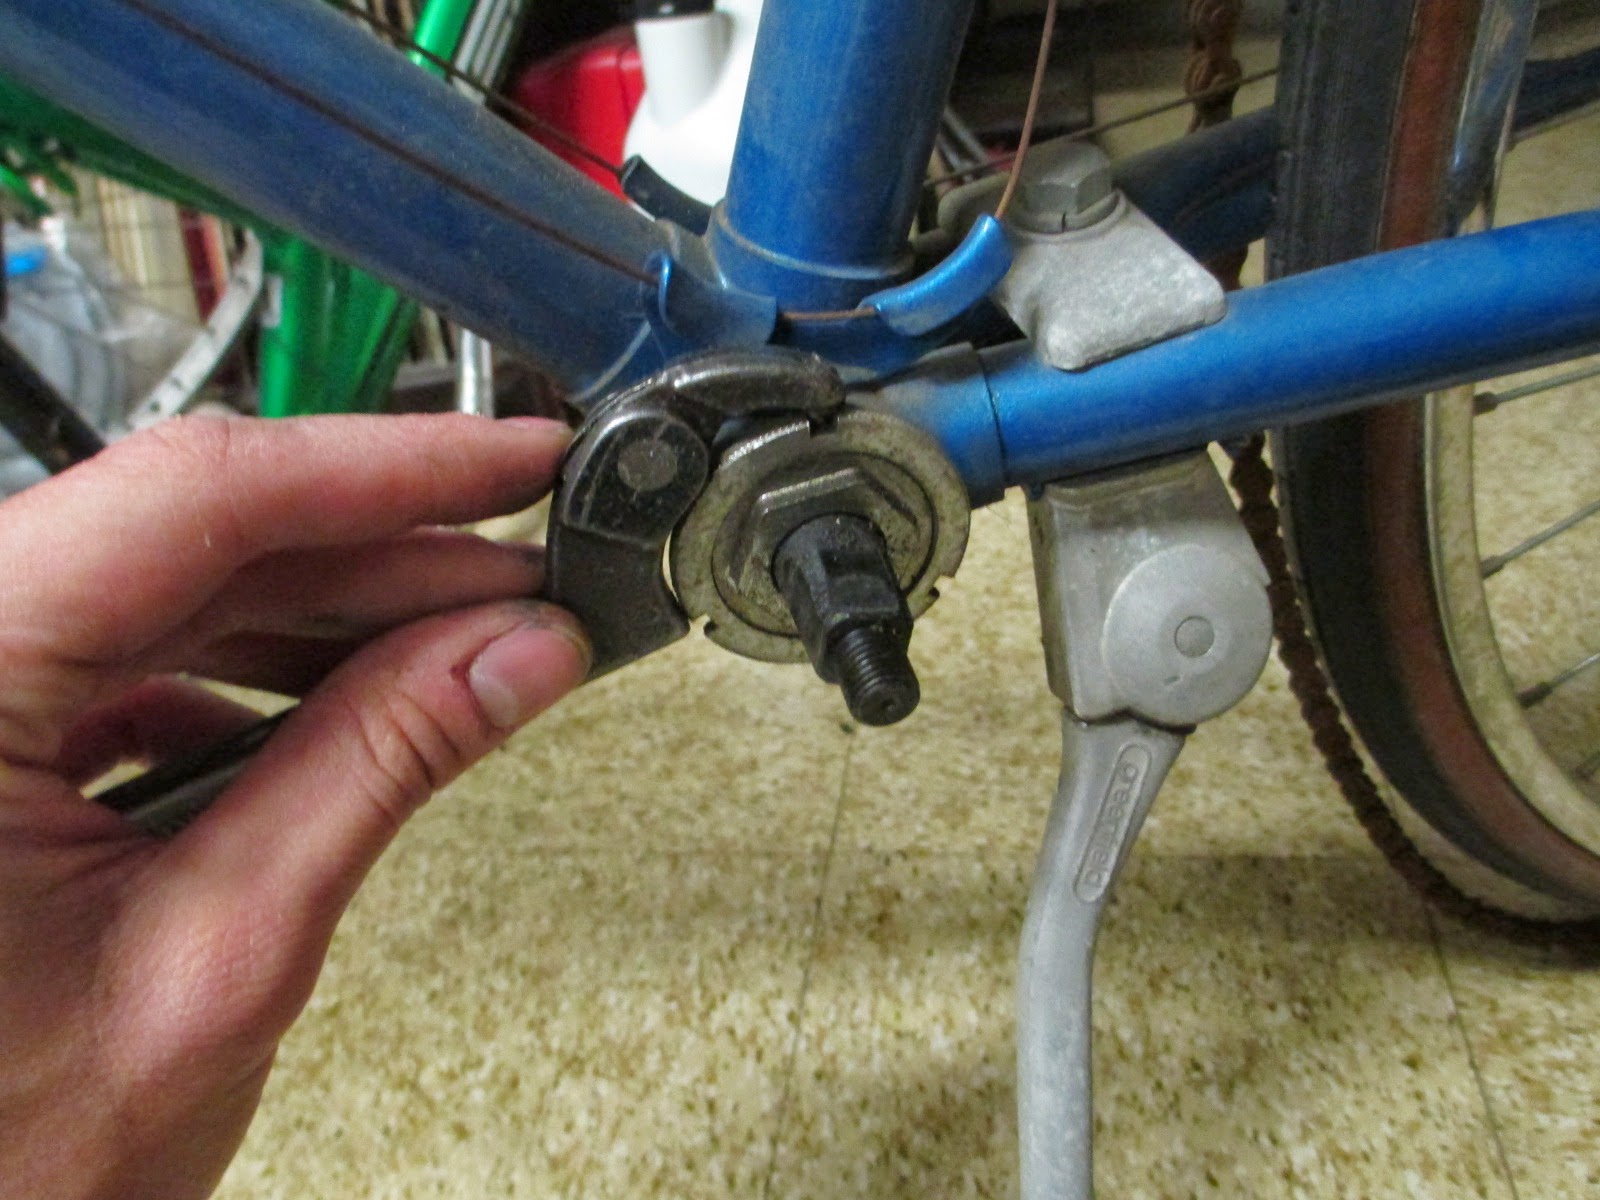
Now the cranks are off, I can remove the lockring on the adjustable cup:


Unthread the cup and the spindle comes out:
 
The fixed cup comes out with a big wrench and some persuasion (remember this guy is reverse threaded):
 
To repack the headset bearings first I need to remove the shifters (a Phillips screw on these Suntour friction shifters):

Next the brakes (a 10mm nut behind the fork, a ratchet makes this easier):
 
Loosening the allen bolt on the top of the handlebar stem should let everything slide out:

Now I can remove the headset's top nut:

Then the top bearing race will unscrew by hand:

Bye bye fork:

I'll remove the chain and soak it in motor oil:

This pile of bits used to be a bike:

Tires

Tires are more than just rubber tubes. There's the top treaded area which you can see, but the tire's main structure lies in the fabric cords underneath. Here's a cutaway look at an old tire:

You can see where the tread is bonded to the fabric. The tread doesn't provide much strength, just a harder wearing surface to grip the road. The fabric is what resists the 90+ psi air pressure inside the tire. You can also see steel wires at the bottom:

The fabric is sewn around these wires to create a tire bead, which is supposed to resist stretching enough to keep the tire seated inside the rim. More expensive "folding" tires use Kevlar cords instead of steel wires to reduce the tire's weight a little bit.

Thursday, June 19, 2014

Clockspring Headset

I found this on a late 80s Peugeot Urban Express cruiser:

The top race is held in place by a spring, which keeps the race tight. This is brilliant since these 1" threaded headsets like to loosen up on mountain bikes. The spring provides just enough tension to keep the headset well adjusted, and it's too bad that more old mountain bikes didn't have this feature.

Thursday, January 23, 2014

Headset Replacement

In rare instances you might need to replace the headset cups in your frame. The cups can become pitted, making the steering feel notchy. You can sometimes get around this by removing the ball bearings from their retainers and adding extra ones so they completely fill the cups. Otherwise you can buy a new headset and install it. First you need to remove the fork (see my previous post):


I used a 10mm wrench to remove the brake so I could get to that crown race. The headset pieces are not always interchangeable, so I like to replace everything as a complete set. The fork crown race comes off with a hammer and punch:


Give it a few taps while alternating on either side of it. It will eventually slide off. Next I use a section of 1" PVC pipe to seat the new race into position. It's a press fit, so make sure it's fully seated:


Now comes the really fun part. You need a special tool to remove the cups inside the head tube. You can spend some money for a special headset cup remover. I'm fairly handy, however, so I just made this out of a piece of 1" electrical wire conduit:


I used an angle grinder to make 3 cuts at one end, then spread them apart a little bit with pliers:


It seems to work pretty well. Next you slide the tool into the frame and hammer the cups out:


You'll probably have to hit pretty hard, so make sure the frame is well supported (I just hold it in one hand while striking the tool with the other). Repeat for the other cup. Now set the new cups into position, then press them in:


If you don't have a big vise, a bike shop can usually do this step for cheap. The important thing is to center the vise jaws on the cups, and press them in straight until they are fully seated. Finally, just pack the bearings with grease and reinstall the fork. Again, not all headsets are compatible with all forks (especially on really old bikes) so good luck finding the right replacement!

Saturday, January 18, 2014

Headset Overhaul

I had nothing interesting to do today so I thought I'd do some winter bike maintenance. My old Dawes always had a clunky feel from the headset bearings, so I thought I'd try to fix that. I first loosened the handlebar stem bolt:

Next I loosened the top nut on the headset:

The front brake cable was just barely stopping me from removing the handlebars, so I unhooked the straddle wire for more clearance:

Bars, top nut, and cable bracket removed:

Carefully unscrew the top race. On most bikes the ball bearings are held in retainers, so they don't all fall out when you service your bike. Not this one. It helps to hold a rag or paper towel by the bearing cup to catch anything that falls out.

You can slide the fork straight out after removing the top race:

Now clean all the headset parts and repack the bearings with marine grease:

The lower cup gets exposed to rainwater, so that's why I recommend some kind of water resistant grease. If you have fenders or never ride in the rain then use whatever grease you like. Now you can reinstall the fork:

Screw on the top race, then reinstall any spacers, brackets, and the top nut in the same order that you removed them:

Now you can reinstall the bars and dial in the bearing adjustment:

Use the top race (in this case, the round piece with the knurled finish) to set the preload, then tighten down the top nut to lock in the adjustment. Tightening that top nut might increase the pressure on the bearings, so screw in the top race until the bearings have a very small amount of play first. Then tighten the top nut. The fork should turn easily without play when you're finished. It's difficult to get the adjustment right the first time, so keep trying until it's perfect.