Sunday, November 20, 2016

Schwinn Traveler Rebuild

A couple years ago I showed how I used drain cleaner to dissolve an aluminum seat post that was hopelessly stuck inside an old Schwinn Traveler frame. After dealing with that nonsense, I built a lightweight set of wheels for that bike, and gave it to a good friend of mine. I always liked how it handled, it was extremely agile and fast. Anyway, I found another identical bike at a garage sale this summer, and this time I'm keeping it for myself. This one needs some repairs (of course):

The bike was missing a cassette, but came with another rear hub with a freewheel mounted to it. I'm guessing the previous owner tried to fix the bike, but gave up on it when they figured out that freewheels don't work on cassette hubs. The freehub body itself would spin freely in both directions, so either the pawls inside it were broken or just stuck. Time to deal with it:

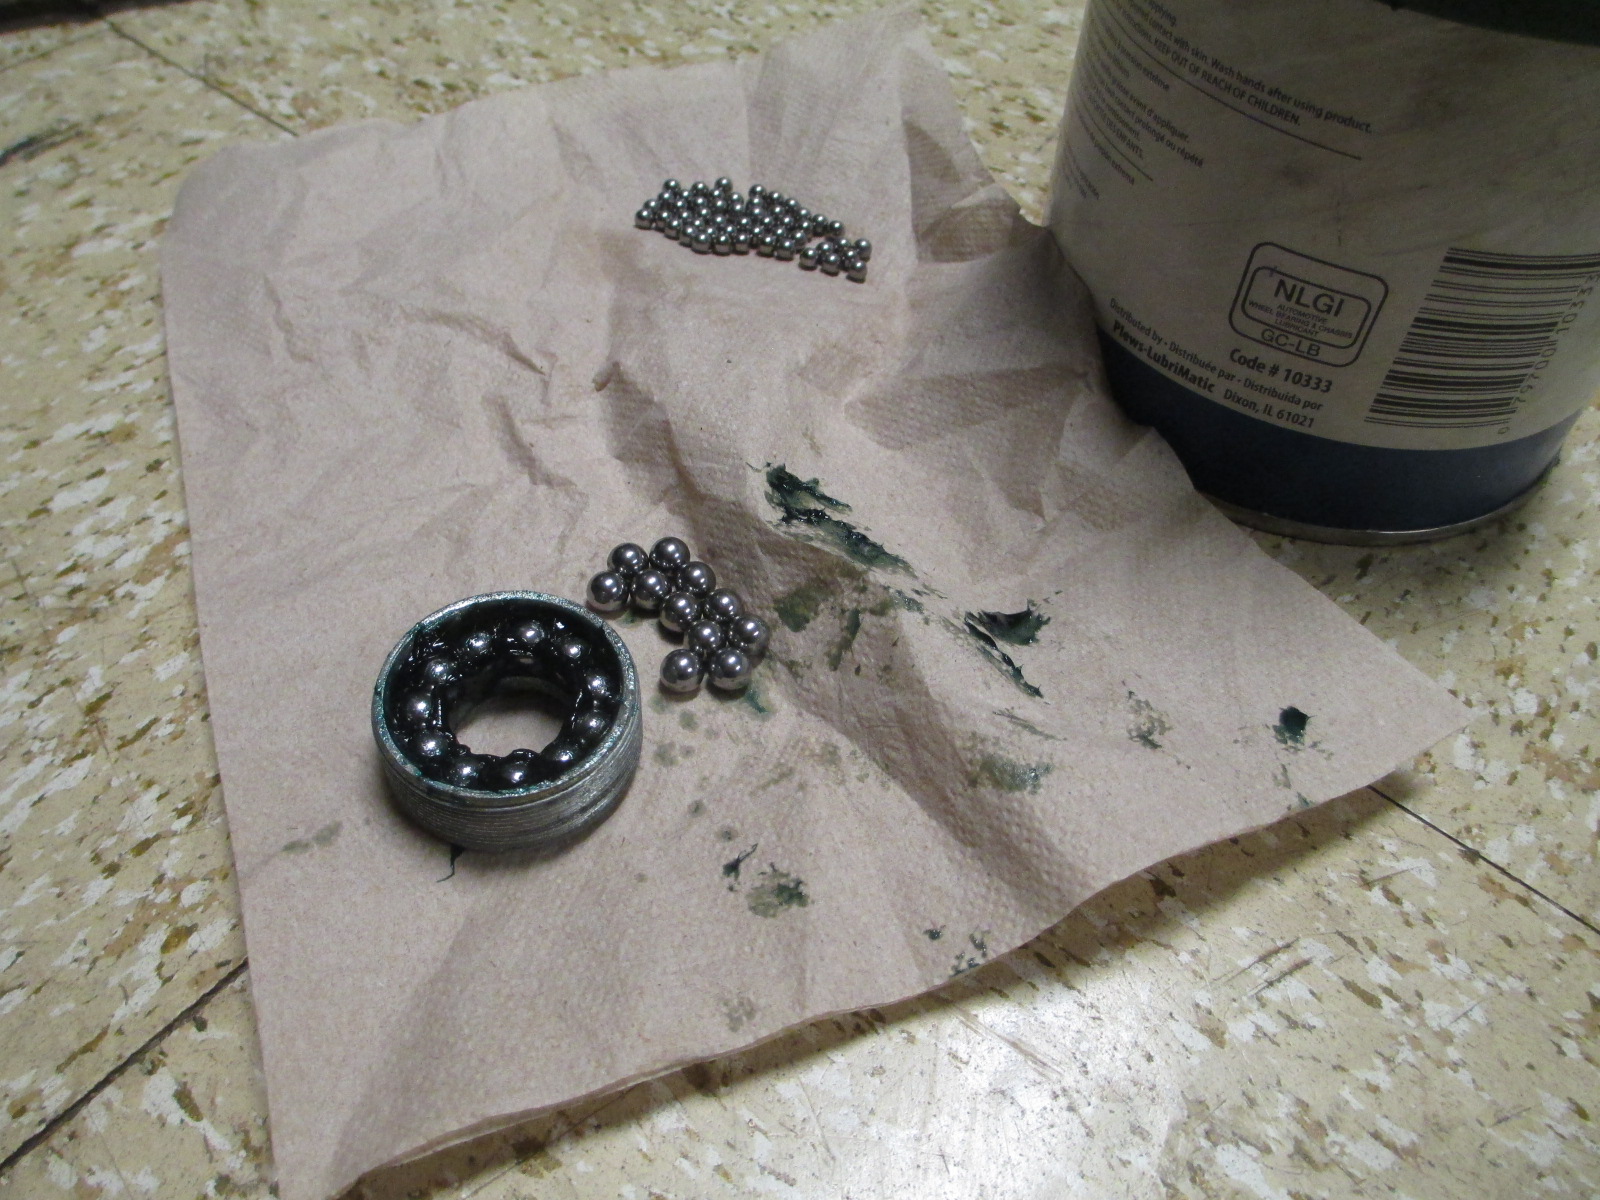
Axle and ball bearings removed:


After removing the dustcap, I flooded the freehub body with motor oil. After a few minutes it started working normally again. Now I can repack the hub bearings and install a new cassette:


Time to do something about the dork-tastic handlebar setup. This one has steel brake lever extensions, a head light screwed onto a reflector bracket, an extra reflector bracket on the front brake caliper, and worst of all - foam handlebar grips (yuck). I removed the brake extension levers first:

Next I stuck an allen key inside the brake lever to loosen them from the clamp on the handlebar:

Then I slid those old disintegrating grips off with soapy water:

Now it's time to remove the dork light. I unscrewed the handlebar stem, then removed the top nut from the headset:

With the headset disassembled for cleaning, this was a perfect opportunity to remove that extra bracket too:

The bottom bracket is next. The lock ring came off easily, but the adjustable cup on the left side put up a fight. I had to break out the penetrating oil (I'm much more used to using this stuff on rusty cars):

Since I don't have the proper pin spanner for this kind of cup, I had to improvise a bit:

That worked. After cleaning and repacking the dried out bearings, I could reassemble the bottom bracket (with a hammer and punch, again. I need to stop misplacing my normal tools):

Crank reinstalled:

I also repacked the headset bearings and reinstalled the fork and front brake:

Now the handlebars and brake levers can go back on:

After reconnecting the brake cables and putting on some proper handlebar tape, here's where I'm at now:

This bike handles as well as the last Traveler I had. I love these late 80s cro-moly Schwinns. They are incredibly light, agile, and they usually have indexed shifters. Unfortunately this one was in pretty bad mechanical condition (wobbly wheels, gummed up freehub, pitted bearing cones on the front axle, and missing a cassette), but it's back to normal now.

Tuesday, August 30, 2016

Bottom Bracket Drainage

I have a dedicated "winter beater" bike that was making a quiet clicking sound while pedaling. First I thought the bottom bracket was getting loose, so I took the cranks off and checked it out. Turns out it was still tight as ever, but after removing it I saw something I didn't like:


My guess is that water and road salt were getting inside the seat tube and pooling up in the bottom bracket shell. With no way to drain out, the water just sat inside of the steel frame and caused all of that rust. Here's what my three year old bottom bracket looks like now:


Might as well have pulled that out of a lake. I used a wire wheel on a drill to scrape off as much rust as possible, then painted the inside of the shell and the bottom bracket itself. Finally, to make sure this doesn't happen again, I drilled a small hole at the bottom of the shell so that water has a chance to escape rather than cause all this corrosion.


This is worth doing if you ride in bad weather, since it can protect your frame and bottom bracket from rust.

Tuesday, July 5, 2016

Raleigh Grand Prix Resto

Hey it's been a while. I didn't do lots of bike stuff last year (bought an old sports car instead), but I worked on a few things this summer. I found an old Raleigh being thrown away and I thought it could be restored rather than end up in a garbage dump.


Poor bike. Well at least I got to it before the garbage truck. First thing's first, time to take it completely apart. I'll start with the cranks:


These have cotter pins, so I'll use my c-clamp and socket method:


The clamp is supposed to press the cotter pin into the socket, and allow me to remove the crank. This one was on stupid tight. After I tightened the clamp as much as I could, I hit the end of the clamp with a very heavy hammer. That did the trick (although the threads were deformed a bit on the cotter pin). Time to remove the bottom bracket lockring:


I couldn't find my special pin wrench that's made for this, but a hammer and punch also works. With the lockring removed I unscrewed the left side cup (which also needed a lot of persuasion):


Since this bike is from the 70's, the bearing grease had dried out a long time ago. Here's what was left:


I didn't even bother fighting with the right side bearing cup. Fortunately I have skinny fingers, so I can just clean the bearing cup inside the frame. Next I disassembled the wheel bearings with a cone wrench and an open end wrench:


Looks like old white lithium grease (that stuff dries out so fast, I think it only lasts a few years). With the wheel bearings apart, it's headset time:


The handlebar stem decided to put up a fight (what a surprise), so I had to use the hammer yet again.


It finally twisted out with some liquid wrench and patience. Next I took apart the headset:


Then the fork slid out:


I forgot that old British bikes don't use bearing retainers anywhere, so I spent a bit of time searching for all the little ball bearings that spilled all over my basement floor.

Here are the ball bearings after soaking them in mineral spirits (I did have to replace a few that were chipped):


Time to repack the bottom bracket:


I just use automotive wheel bearing grease. It's water resistant and probably way overkill for the loads that a bicycle is subjected to. Also, a pound of this stuff costs less than a few ounces of bike specific grease.

This part was fun:


Spindle reinstalled:


After adjusting the bearings and tightening the lockring, I moved on to the headset:


That took a while (seriously, why couldn't they use ball retainers like everyone else). Fork reinstalled now:


Wheel bearings adjusted, and new tires installed:


It's starting to look like a bike again. Time to put those cottered cranks back on (wet aluminum foil cleaned up the chrome very nicely):


I noticed that the chain wouldn't rotate properly (or at all, for that matter). At first I thought it was seized up, but it turns out the pulley cage on the rear derailleur was bent. This was probably why the bike was thrown away in the first place. Oh well, time to fix more stuff:


After taking the cage apart, I bent the plates back into a straight line:


That's better. After that I trued the wobbly wheels and adjusted the brakes and shifters. This bike needed quite a lot of work, but it was a fun project. I like having to solve problems sometimes (and hitting things with a hammer). Here's the end result:


Monday, October 20, 2014

Reviving Old Trigger Shifters

I've read a lot of things online saying that Shimano STI shifters have a "shelf life". Once the factory grease hardens up, the shifters stop working, and supposedly can't easily be fixed. I'm here to prove otherwise. If the little pieces inside the shifter mechanism aren't broken, then there's no reason to replace old shifters. All you need to do is flood them with some kind of penetrating lubricant. Here's an old 8 speed 105 shifter that isn't working:


Now take a spray can of WD-40 or penetrating oil and inject lots of oil into the shifter mechanism:
Wherever you see an opening, just spray lots of oil (here's a really good spot):

Work the shift lever until you can feel it catching the pawls inside. This usually takes about 15 minutes to free up the shifter. If you've been playing with it for a while and the levers still won't click, then set it down and give the penetrating oil time to do its thing. Also, for whatever reason, loosening the center allen bolt on top of the shifter a little bit seems to make these things work more easily. Don't play with the allen bolt unless the oil definitely isn't working, and don't even think about removing it completely. If the shifter starts working again, then tighten the allen bolt down so the shifter won't come apart later on.

This trick also works on mountain bike shifters. Here I have some old 7 speed Alivio trigger shifters that have seen better days. I find it's easiest to carefully remove one of the plastic covers over the shifter in order to spray the ratcheting mechanism directly. Here I unscrewed the 10mm bolt on the bottom:

Now the shifter should stay intact, but be really gentle when removing that cover:

You can now see the little pawls and springs that need to be flushed with oil. Alternately you can remove the top cover by unscrewing a few small philips screws:

That's pretty dirty inside, no wonder it wasn't working. If you do it this way, just make sure you get the plastic gear indicator to line up properly before you put it back together. Otherwise the gear indicator won't move.

In case you're wondering, I used Liquid Wrench brand chain lube on these shifters, but WD-40 also worked for me in the past. I also like to flood them with motor oil after flushing them out with spray lube, just to keep them from gumming up again. So far I haven't failed to revive any trigger or STI shifters this way (knock on wood). Hope this helps!

Saturday, October 18, 2014

Schwinn Le Tour Restoration Part 2

Now that the fun part's over, it's time to do some actual work on the bike. First I'll start installing the fork. After soaking all the bearings in mineral spirits, I can pack the bearing cups full of grease and slide the fork in place:

Next I reassembled the headset and put the shifters back in place:

Now the handlebars and stem:


After the headset I repacked the wheel bearings. I didn't have to remove the freewheel on this one because there's enough room to work on the bearings (plus I don't have the special tool to remove a Normandy freewheel):

Wheels installed:

Now I can reinstall the bottom bracket:

Then the cranks. The 14mm nuts underneath the dustcaps need to be really tight:

Rear derailleur back in place:

It's easiest to adjust the RD when the chain is off. Just move the derailleur until the guide pulley is underneath the biggest sprocket, then set the limit screw so it can't move any further:

Chain reinstalled:

Almost finished:

Pedals and a new seat installed (the original one was so uncomfortable that it was unrideable):

This one came out pretty well, but it definitely needed a lot of work. As far as how it rides, it will never be an agile road racer. Instead it handles like how a touring bike is supposed to with a very stable feel.