Friday, August 8, 2014

Simplex Derailleur Overhaul

I was rebuilding an old Peugeot UO-8 and noticed the rear derailleur didn't have much tension on it. It's incredibly easy to take apart, so why not try to make it work better? I believe this one is a Simplex Prestige:

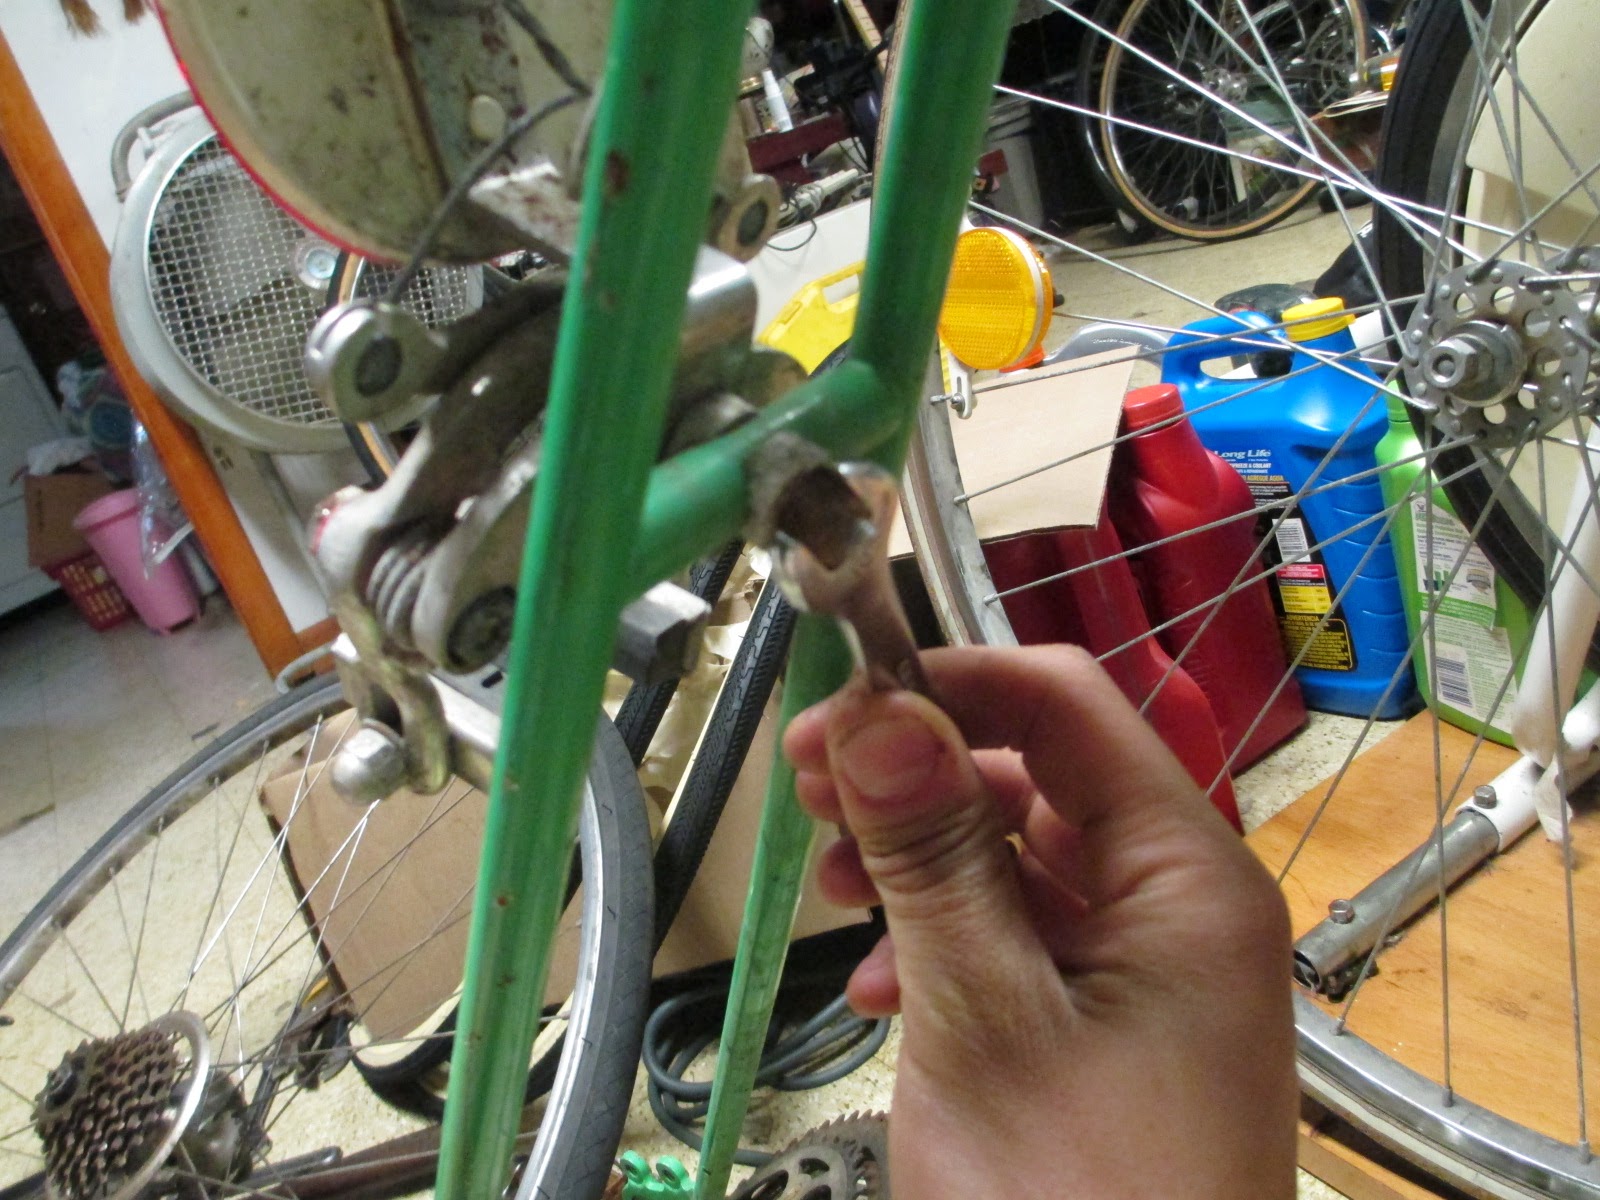
The first thing to do is unscrew the 14mm nut behind the mounting claw while holding the allen bolt steady on the other side:

Next you remove the stop screw for the pulley cage:
Then you can let the cage unwind. Now unscrew the other allen bolt holding the pulley cage to the derailleur:
Slide the allen bolts out. You can see the springs inside, which you can grease now:
As for the pulley cage, unscrew the 2 nuts holding the cage together:
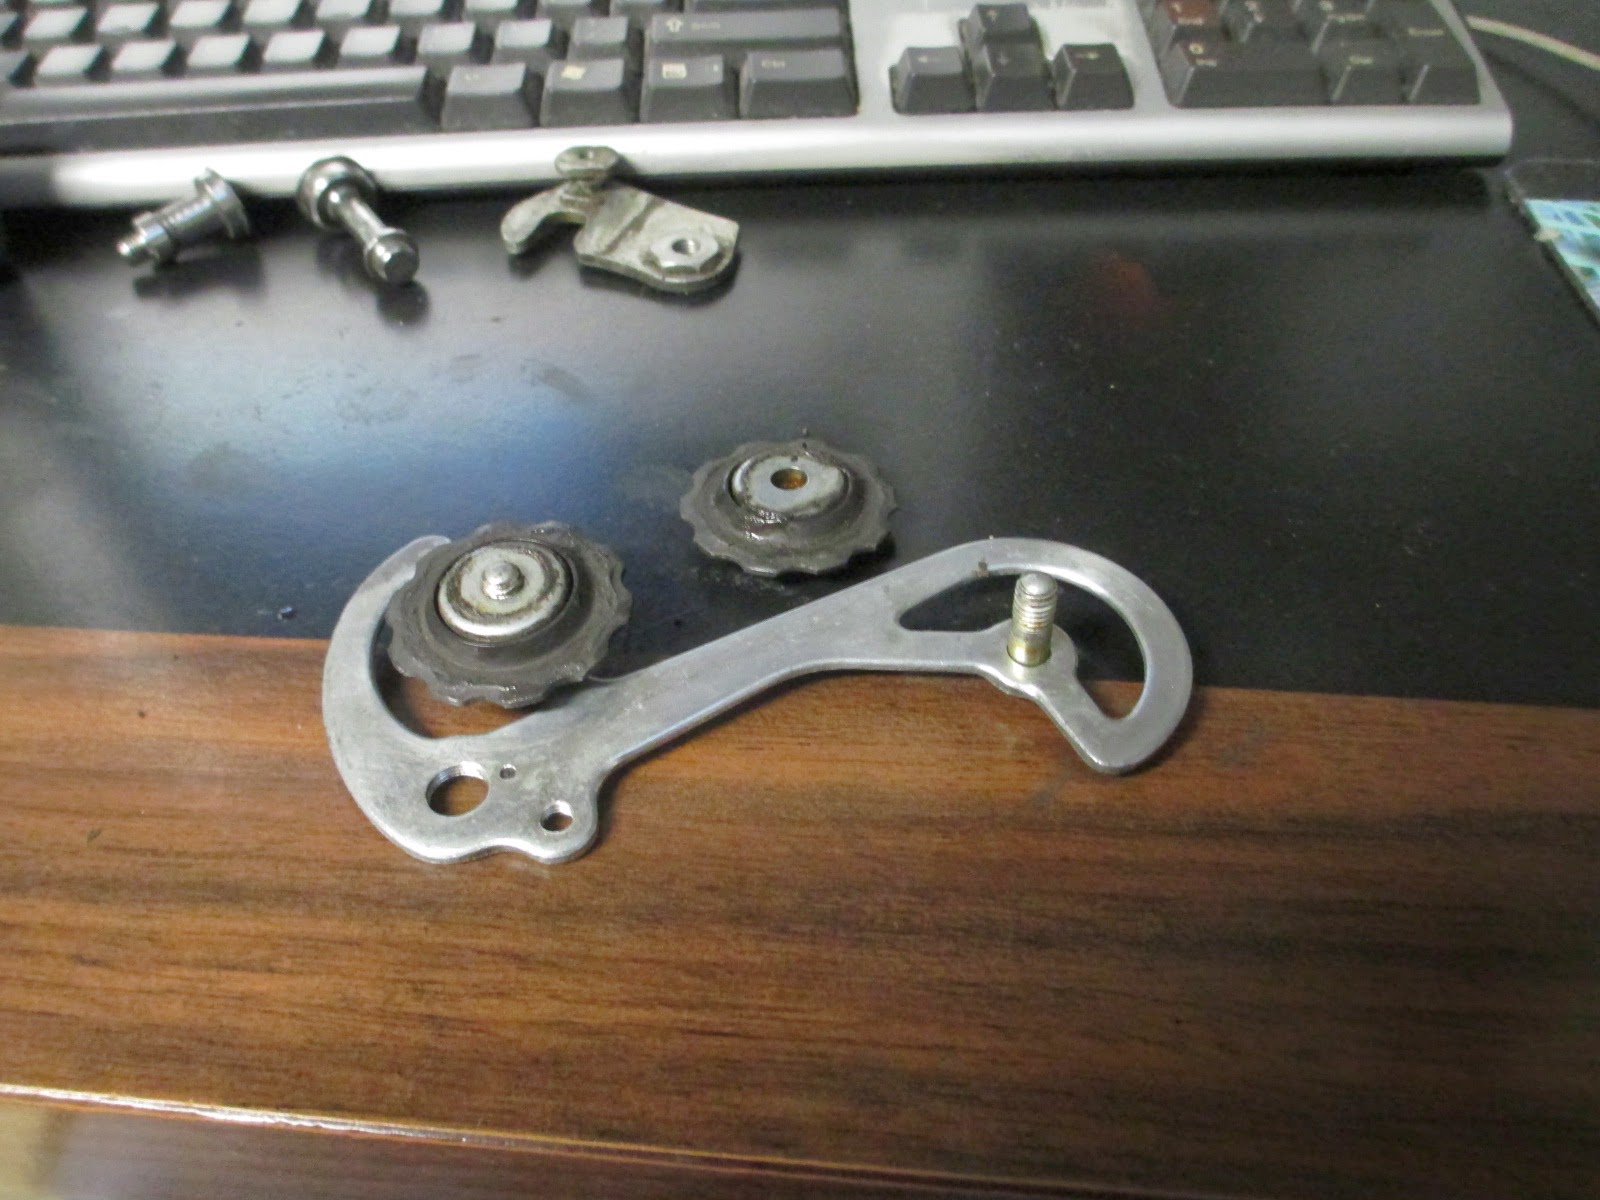
With the pulleys out, you can clean and oil the bushings that they spin on:
All taken apart:

Reassembly is the reverse of removal, except for that 14mm nut behind the mounting claw. You should screw it back on loosely, but wait until you install the derailleur on the bike before you tighten it. Once installed, wind the derailleur clockwise against the spring tension, then hold it steady while tightening that nut. You need to do it this way to give the spring some tension, otherwise the top pulley will touch the sprockets while you ride.

Thursday, August 7, 2014

Fuji Basketcase

My brother found a cheap Fuji Sports 10. I fixed up something similar 2 years ago, but this one definitely needs a full restoration:


The brake calipers and derailleurs are locked up from corrosion, so this will be fun... (at least the frame looks ok). It takes a special kind of negligence to mess up 2 Suntour derailleurs. Alright enough complaining about it, let's dig in. These cottered cranks need to come off, so first I'll unscrew the nut holding the pin in:

 
Then I'll press the pin out with a C-clamp and a wrench socket:


This one was stubborn, so I hit the end of the clamp with a hammer. The shock loosened the pin, and then the crank slid right off:


Now it's time to take that bottom bracket apart. I had to use a hammer and punch on the lockring because it was too tight for my lockring tool:


Thank goodness for mineral spirits:

The right side cup came out without too much trouble:

With that nasty chain soaking in motor oil, I can remove the rear derailleur to take it apart and get it working:


Using lots of penetrating oil I was able to unstick the front derailleur. It took about half an hour of wiggling it around with pliers before it would spring back on its own (this probably wasn't the best use of my time).

The brake calipers weren't working either, so I had to remove them:


Now for those headset bearings:


Without bearing retainers I get to chase the loose ball bearings all over my basement floor:


Here's the bike as it sits now:


Time to put this thing back together. First the wheel hubs:


I found lots of black gritty crud in the wheel bearings, so I'm pretty glad I cleaned and repacked them. It was the same story with the bottom bracket and headset. The cables surprisingly weren't very rusty, so I just cleaned, oiled, and reused them. Now the headset:


Handlebars and shifters:


Wheels and saddle:


Brakes and cables:


Derailleurs:


The Suntour Spirt front derailleur is pretty tricky to set up since the cage is so narrow. I ended up bending it outward slightly to keep it from rubbing the chain. This bike came out surprisingly well, and I didn't have to replace any of the mechanical parts.


After a few test rides and some more adjustments the Fuji rides great. It has a very light, springy feel and it's very agile. You would think it's a much more expensive bike if you didn't see the "Sports 10" label on the top. All that's left is to replace the old front tire and give it some fresh handlebar tape.

Wednesday, July 9, 2014

Malliard Helicomatic Hubs

A friend of mine has an 80s Peugeot with one of these:


These Helicomatic hubs have a twisted spline pattern for the freewheel to slide on to. The splined barrel spins with the wheel, while the gear cluster has the ratcheting mechanism inside. You can see how skinny that barrel is compared to the axle, it must have some pretty small ball bearings inside. Here is what the matching freewheel and lockring look like:

That lockring keeps the freewheel on the hub. You're supposed to use a special tool to screw it on, but this one came off on its own and all I had were some pliers (they worked fine).


The advantage is that you can remove this freewheel on the road without a big wrench or table vise, but the bearings inside the hub might wear out sooner because they're so small. This wheel also has a crazy amount of spoke dishing, with the drive side spokes nearly vertical with the rim.

Wednesday, June 25, 2014

Schwinn Sprint Rebuild

It's time to overhaul the bearings on this thing. I'll start with the wheels:

I usually use a cone wrench and an adjustable to loosen the locknut, then unscrew them both to pull the axle and bearings out. This hub isn't rusty, that's actually dried up grease from the inside. You can imagine there's nothing left to protect the bearings.

The freewheel needs to come off to do the rear wheel bearings. I still don't have a 2 prong tool for Suntour freewheels (I should ask for one as a Christmas present), so it's time to remove it the "other" way:

Hammer and punch on the lockring, unscrew it clockwise:


Slowly pull everything apart so you don't loose the little ball bearings inside:

Here's the bare core piece that needs to be unscrewed:

Big adjustable wrench on the pawls did the trick:

Now with the core off, you can take the axle out the same way as the front hub:


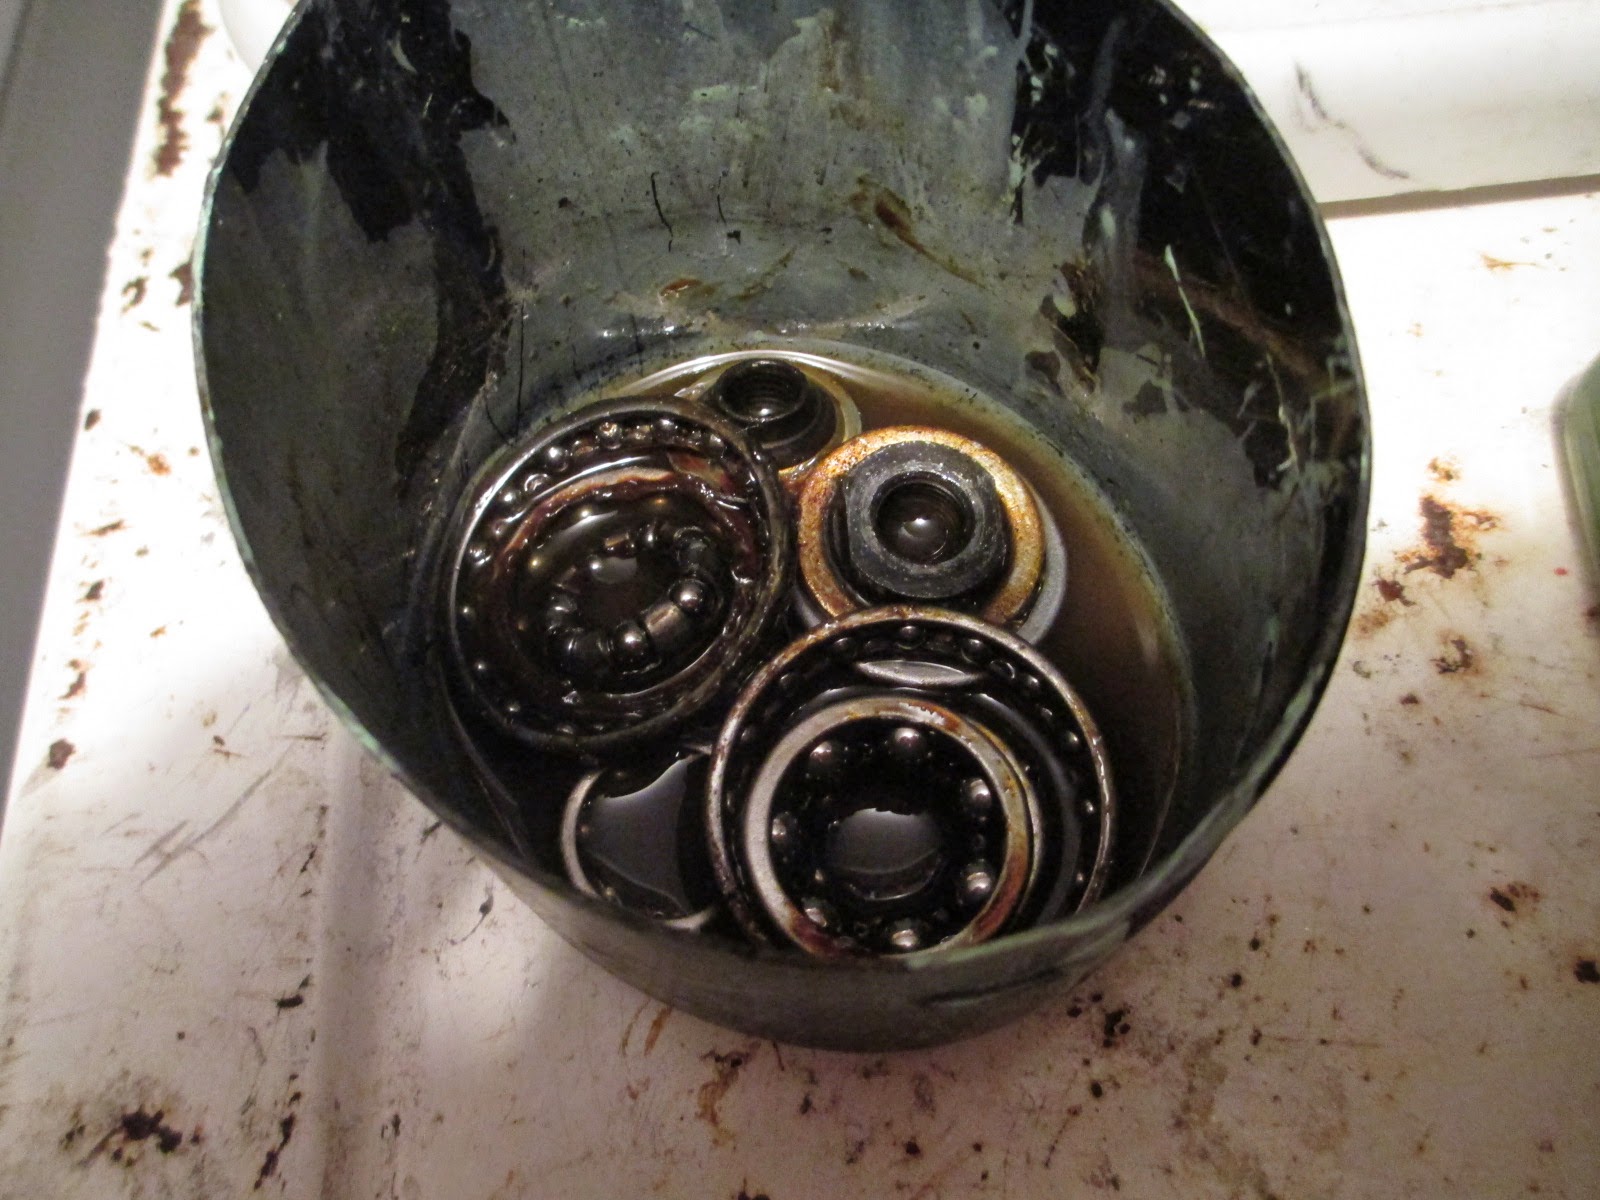
I like to soak all the bearings together in paint thinner, it's the easiest way to get them really clean.

That freewheel needs to go back together now, so use grease to hold the little balls in place, then twist the core and gear cluster together until they're seated:

Suntour Perfect freewheels are probably the easiest to reassemble, just make sure you put the shims back and tighten the lock ring really well:

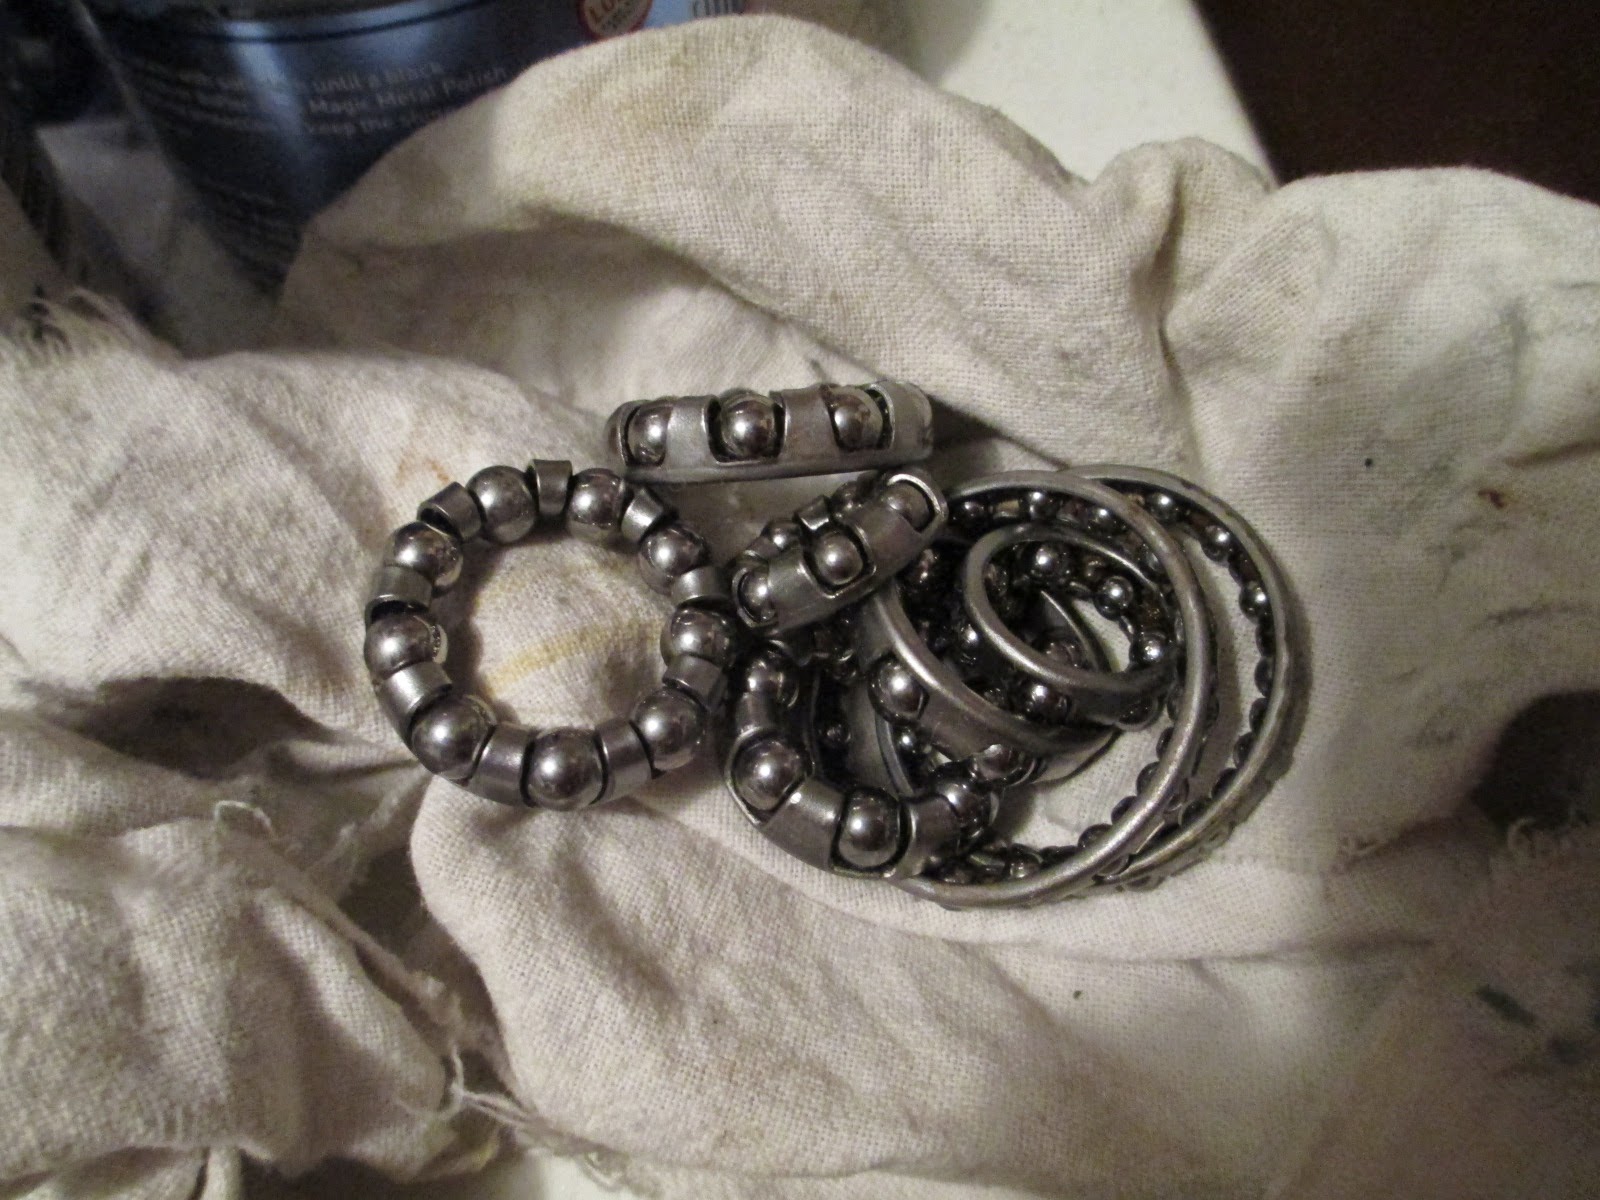
Bearings are done:

With all the bearing surfaces clean you can pack them with grease and reassemble everything:

If you have ball bearings in a retainer, make sure they face the right way. Slide the axle back in, then the cone and locknut you removed earlier. Adjust the bearings so they spin easily without play.

Do the same for the headset bearings:


Add the top race to secure the fork, then the spacer:

Tighten the locknut, and check the fork for play or binding. The bearings will tighten up as you tighten the nut, so you need to guess how much to tighten the top race beforehand:

Now pack the bottom bracket cups and bearings with grease:

Reassemble everything loosely in the bottom bracket shell:

Tighten the fixed cup all the way (make it as tight as you can), then adjust the bearings with the adjustable cup on the left side. When the spindle turns easily without play, tighten the lockring:

Tighten the crank nuts to press the cranks onto the spindle (these need to be pretty tight, so don't be timid with your socket wrench):

Now the brakes can go back on. Center the pads around the rim, then tighten the 10mm nut on the back to keep the calipers in place:

Adjust the limit screws on the rear derailleur so the chain doesn't overshoot the gears:

Also adjust the front derailleur so it won't rub the chain:

With the cables oiled and adjusted, this bike rides really nicely. I was fixing this one up for a friend, but if I wanted to use this bike all the time then I would replace those foam handlebars grips with cork tape, and possibly put new tires on it.