I previously wrote a post about destructive freewheel removal, but I want to revisit that procedure with better photos. Here I have an old Shimano 333 freewheel with their old style spline pattern. Removal tools for these freewheels are not widely available, so I disassembled the freewheel in order to remove it. First I removed the front bearing race with a hammer and punch. It is reverse threaded, so I had to rotate it clockwise: 
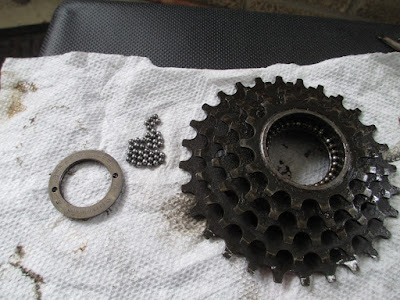
Now I could pull the sprocket cluster straight off the freewheel body:
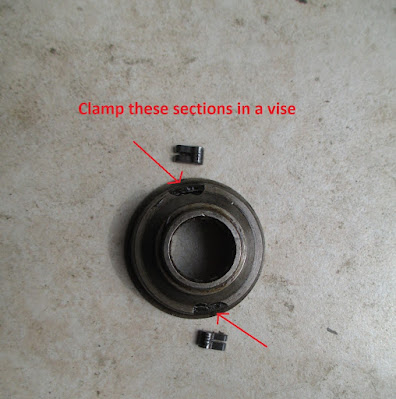
Next I slid the pawls out of their retaining springs before clamping the freewheel core in a bench vise.
Turning the rim counterclockwise allowed me to unscrew the freewheel core. Now I could reassemble the freewheel. I managed to keep the bearings in the sprocket cluster from falling out in order to save some time.
After sliding the pawls back into their grooves, I used bearing grease to hold the 10 million ball bearings in place:
Here is the tricky part. It's hard to install the freewheel core back into the sprocket cluster when the pawls are sticking out. I push the two halves together at an angle so that one pawl is inside the sprocket cluster to start with. Then I push the other pawl in with a screwdriver while pressing the pieces together.
Once the two halves are joined together I added some motor oil to thin out the grease:
Finally I screwed the front bearing race back on with the hammer and punch in a counterclockwise motion:


