Saturday, April 24, 2021

Repainting a Bike Frame

 I bought a Schwinn Traveler that has seen better days:

At first I sort of liked the dirty rusty paint, it looks like an old messenger bike that has been ridden for thousands of miles.  However, I live in the salt belt so it just reminds me of every old beater car I see on the road.  Time to deal with it.  I used a product called Naval Jelly to dissolve the rust and prevent it from returning:

After brushing it on the entire frame I left it overnight to do its thing.  Next I hammered out the headset cups with a tool I made from a length of metal electrical conduit:


Now it's time for the tedious part.  I sanded the existing paint (or at least whatever is left of it) with sandpaper and a medium grit sanding sponge.  The idea was to blend the chipped edges of the paint into the bare metal so that the edge lines wouldn't show through the new paint.  I also tried to avoid hitting the decals since I wanted to keep them.  After sanding, I cleaned the frame with denatured alcohol:

 Next I taped over decals with masking tape:


I should mention that I am not a professional painter, and I also didn't have the time or motivation to make this paint job look perfect. I just wanted the bike to look presentable from 20 feet away. Anyway, time for primer:
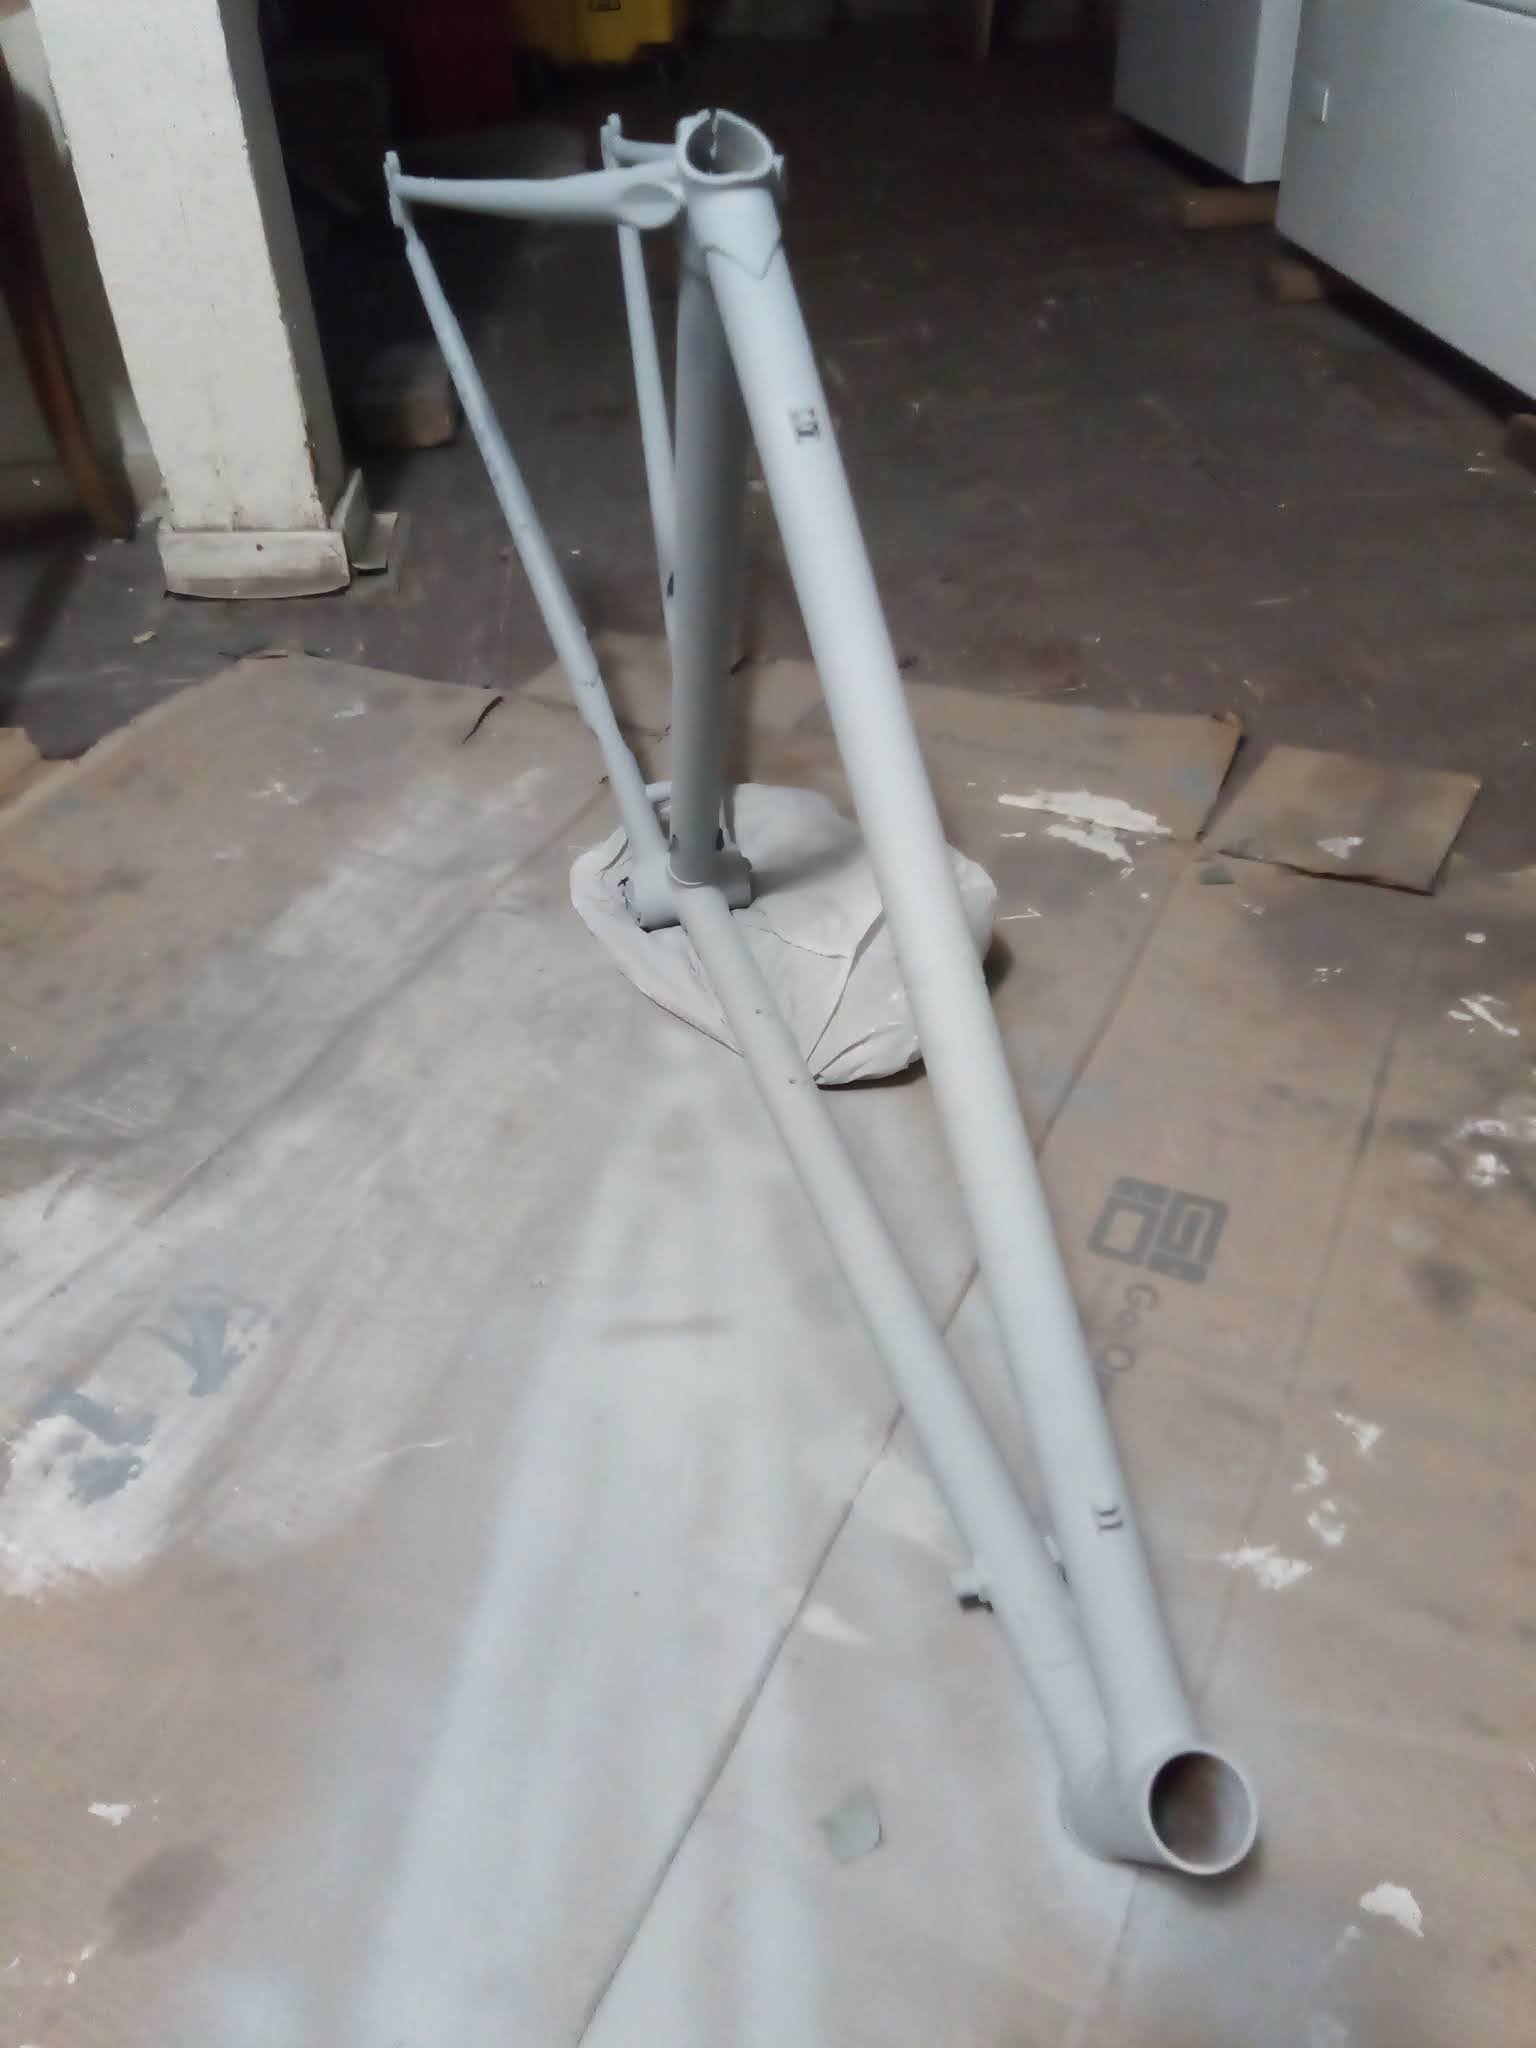
I sprayed three thin primer coats using a can of rustoleum automotive primer.  After that dried I used some string to hang the frame in my garage:

Spray paint cans are difficult to get a good finish with.  They tend to spray too much paint at a time, which causes drips and runs.  Also, the paint coming out of the can is very thin, so you will have to spray lots and lots of very light coats.  Instead I have a small air compressor and an inexpensive spray gun.  I mixed some rustoleum gloss white and almond colored paint together to try to color match the existing paint:

I also added enough mineral spirits to thin the paint.  The proportions were about half white paint, one quarter almond, and one quarter mineral spirits.  I set the compressor's air regulator to 60 psi and got to work:

The spray gun is much more forgiving than spray cans. I was able to lay the paint on pretty thick without worrying about drips.  After a few coats I peeled off the masking tape.  Much to my disappointment the new paint didn't match very well:

I touched up the areas around the decals by hand with a small brush.  The end result is much better looking than the rust.  It's not perfect, but I'm more than happy with it.

Saturday, March 27, 2021

Freewheel Removal Without A Special Tool

I previously wrote a post about destructive freewheel removal, but I want to revisit that procedure with better photos. Here I have an old Shimano 333 freewheel with their old style spline pattern. Removal tools for these freewheels are not widely available, so I disassembled the freewheel in order to remove it. First I removed the front bearing race with a hammer and punch. It is reverse threaded, so I had to rotate it clockwise: With the race removed, you can see lots of ball bearings inside. If you're careful then only half of them will end up spilling over your floor.


 Now I could pull the sprocket cluster straight off the freewheel body:


 Next I slid the pawls out of their retaining springs before clamping the freewheel core in a bench vise. 

Turning the rim counterclockwise allowed me to unscrew the freewheel core. Now I could reassemble the freewheel. I managed to keep the bearings in the sprocket cluster from falling out in order to save some time.

 After sliding the pawls back into their grooves, I used bearing grease to hold the 10 million ball bearings in place:


Here is the tricky part. It's hard to install the freewheel core back into the sprocket cluster when the pawls are sticking out. I push the two halves together at an angle so that one pawl is inside the sprocket cluster to start with. Then I push the other pawl in with a screwdriver while pressing the pieces together.

Once the two halves are joined together I added some motor oil to thin out the grease:

Finally I screwed the front bearing race back on with the hammer and punch in a counterclockwise motion:

Saturday, March 20, 2021

Sticky Shift Cables

I noticed that the shifting on my Fuji was pretty sluggish today.  Last year I made the mistake of using wheel bearing grease to lubricate the rear derailleur cable. I normally use motor oil and reapply it every few years, and I never had problems with oil. However, the grease that I put on the cable must have gotten thicker while sitting over winter because there was a lot of resistance.  Anyway, time to fix my mistake.

First unscrew the cable pinch bolt:

 
Next pull the cable out of the derailleur and cable housing:

If you are putting a new shift cable on your road bike, then this is where you can pull it out of the shift lever:
 
I didn't need to change this cable, however. I just needed to slide the inner wire out of the housings so I could clean off the grease and apply fresh oil:

 
After threading the inner wire back through the cable housings, I secured it to the derailleur's pinch bolt and used my fancy crimp pliers to add an end ferrule:

The last step is to adjust the indexed shifting, since I had to unbolt the cable from the derailleur.  I like to shift the chain onto the second largest cassette sprocket, then turn the barrel adjuster on the derailleur until the guide pulley is centered under the sprocket:

Turning the barrel adjuster clockwise will move the derailleur slightly to the right. Turning the adjuster counterclockwise will move the derailleur slightly to the left.

Moral of this story - don't use grease for shift cables.

Tuesday, January 7, 2020

Miyata Project

I bought a Miyata Triton frame, and I'll take you along with me while I build it. These were lower-end bikes that were only made in 1987. Regardless, the frame is cro-moly steel and very light.


I've built lots of bikes with Shimano drivetrains, but never a pure SunTour build.  I have a 6 speed freewheel, a pair of derailleurs, and some stem shifters. Let's make a bike out of it.  After touching up the paint, cleaning, and polishing I was finally ready to start assembling. First, the headset bearings were cleaned and packed with grease:


Fork reinstalled

Original steel handlebars


Brake levers and front brake caliper

Rear brake

I'm guessing this bike was previously converted to a single speed.  It came without derailleurs, shifters, missing a cable guide, and had a short chain.  Thankfully the rear derailleur hanger was still intact. I had to get some parts from the bike co-op, like a saddle and seatpost.  I also found a 700c rim and a Suntour XC Pro front hub (noice!). I built them into the nicest front wheel ever:


Time to reassemble the bottom bracket:


Tightening the lock ring:


And bolting the cranks back on:


Now it needs a drivetrain.  I have a SunTour 7 front derailleur and an Alpha 4050 rear:


I re-laced my Schwinn Traveler's old rear rim to a freewheel hub so I could use my 6-speed SunTour Perfect freewheel.  The Traveler then got my Fuji's rear rim, and I then made another slightly nicer wheel for my Fuji.  I'm not sure why I went crazy with all the wheelbuilding, but it's winter and there's not much else to do.

Here's the chain installed:


I found a set of SunTour Power Ratchet stem shifters at the co-op.  These has a fine ratcheting mechanism inside that makes the shifting super light and precise.  They are the best friction shifters I've ever used:


With the cables installed and adjusted, it's a bike again:


Finally, some celeste green handlebar tape gives it a bit of personality:


This bike rides super nicely with the lightweight frame, 700c wheels, fancy tires, and SunTour drivetrain. I originally wanted a cheap urban commuter, but I ended up with something pretty special.

Saturday, January 4, 2020

Preventing Frame Corrosion

Steel frame bikes are corrosion prone if you ride in winter with salt on the roads.  In an older post, I showed what happens when water doesn't drain out of a frame.  For better protection, you can spray cavity wax inside the frame tubes to ensure it won't rust from the inside.  My Miyata could definitely use this treatment:


My favorite product to use is called Fluid Film, and there is another bike-specific option called Frame Saver.  For my Miyata frame I am just using an old can of 3M Rust Fighter (I don't think this is available anymore).  With my bike completely disassembled it was easy to spray inside of the tubes. However, you can do a good job by just removing the bottom bracket and seatpost.  Here's how I did it:


You can also spray the top tube through the opening in the seat tube when the seat post is out of the way.  With the bottom bracket out, there is easy access to the chain stays, seat tube, and down tube:


There are also small holes in the frame near the dropouts, these are very good places to spray:


Don't forget the fork: