Monday, April 17, 2023

Audi 5000 Revival II - Clutch and Axle

The clutch hydraulics are shot. There appears to be a leak from the slave cylinder, and also the flexible hose going to the cylinder. This is a problem, since there is no OEM style replacement option for this hose. However, there is one company selling steel braided upgraded hoses:


This is kind of overkill for a 100hp engine, but I appreciate it. The slave cylinder itself was a pain to change, being corroded inside the transmission case. I had to be mean to it. There is a roll pin that holds it in place:


I happened to use a 3/16" punch that was slightly too small, and it got wedged into the roll pin instead of driving it out. Big oof. After a half hour of wrestling to get my punch back, I used an M6 bolt and a hammer to finally drive out the pin. Even then, the slave cylinder was stuck, and I had to drive that out with an air hammer. Thanks corrosion.


The new slave cylinder went in more easily after cleaning out the mounting hole. Last was the clutch master cylinder, which required a lot of contortion to get to under the dashboard. I didn't take pictures because it just kinda sucked to change. I should have just removed the driver's seat first. But with all the clutch hydraulic parts changed, my brother and I proceeded to waste a bottle of brake fluid trying to get the air out of the system. No dice, the pedal wouldn't firm up and we gave up. I decided to let it sit overnight to see if the air would work itself out naturally, and it did! The next morning I had a perfect clutch pedal.

Next is the axle. The outer boot on the left side was torn. While replacement axles are available, this is a factory axle with only 40,000 miles on it. Replacement aftermarket axles will break long before this one will, so putting a new boot on it is the best option.

I removed the clamps and old boot to reveal a greasy mess, but that's a good thing since the CV joint didn't get a chance to rust from water intrusion. 


I made the mistake of trying to hammer the inner bearing race off the axle shaft before I realized there is a special retaining clip that must be pried open first. I must have fumbled with the clip for half an hour before I figured out a way to wedge it open and hold it while hammering on the bearing race. An M7 bolt did the trick. Not fun. 


Now onto the cleaning portion. The ball bearings come out like a 3d puzzle, where you rotate the inner race and remove them one by one. Then the race and carrier can slide out. Cleaning the CV joint is like cleaning a bike hub, just with bigger ball bearings:

I used my usual mineral spirits to get them nice and clean. For reassembly, I thinly coated the bearings with motor oil (I could have used the CV grease that came with the kit, but I hate touching that stuff and reserve it for last). Next I had to solve the 3D puzzle in reverse to get the bearings back in one by one:

Then I squeezed the grease packet into the freshly reassembled CV joint, and slid the new boot onto the axle shaft:


After hammering the joint back onto the shaft, I finally secured the clamps with a pair of dull end-knippers:

The last step is cleaning the messy CV grease off my tools. Yuck. Cheers.


Audi 5000 Revival I

This is primarily a bike blog, but I thought I'd like to document my current four wheeled project (if only for my own memories).  My brother bought a low mile 1983 Audi 5000 that evidently sat for years and years. 


The body and interior are in great shape, but the mechanical condition is another story: 

  • The gear shifter can only reach gears 3 and 4
  • It leaks gasoline
  • The hydraulic clutch leaks and doesn't fully disengage
  • Timing belt says VW Audi on it and is probably the original from '83
  • Brakes are stiff and incredibly weak
  • One of the axles is leaking grease

There are a few other odds and ends, but these are the major problems. Unlike bicycles, cars are mostly made of parts that are bespoke to a particular car model. And when a car has been out of production for over 30 years, well good luck finding replacements. Sometimes you even have to custom make your own replacement parts.

After checking the shift linkage, I happened to find a broken link sitting on top of the transmission. I'm really lucky to have found it, otherwise I probably never would have figured out what I'd need to fix this linkage. It's a simple part, basically a 133mm long rod with two socket ends to fit the 10mm ball studs on the transmission. 


You know what else fits a 10mm ball stud? Hood struts. I happened to have a pair left over from a Nissan Maxima, which I decided to cut and join together with a coupling nut. First I needed to cut threads onto the strut rods using a die:


To make the replacement shifter link, I just had to screw the ends of the hood struts into a coupling nut until they were 133mm center to center, then lock them down with jam nuts (just like setting a bike wheel bearing):


I'm proud of it, and the shifter feels like new with the replacement rod installed. Next order of business is dealing with the fuel leak. It's coming from the fuel accumulator, which is like a pressure regulator for old Bosch CIS mechanical fuel injection systems. Removal was tricky, since the fuel lines were very rusty and the nuts would not spin off the flare ends.  I ended up cutting off one of the nylon fuel lines and unscrewing the fitting from the accumulator. Then I spun the whole accumulator off the remaining fuel line going to the pump.


I wish I could have used a torch to loosen up the nuts on fuel couplings, but considering that these are fuel lines and there were gas vapors everywhere this would have been the worst idea ever. I ended up bashing them with a hammer and also using a c-clamp axially to free up the nuts. After pressing the fuel fitting back into the existing plastic fuel line and repainting the mounting bracket, the new accumulator is installed (and no more leaks):


There is plenty of work left to do before this car is driveable again, cheers.

Saturday, April 24, 2021

Building a Cheap and Cheerful Singlespeed

It's time to build something a little different.  The white Schwinn Traveler that I repainted was in pretty rough shape, and I want to rebuild it without spending a lot of money.  Its front derailleur was the wrong clamp size, and used a rubber shim to secure it to the seat tube.  The rear derailleur was corroded and in bad shape (I think this bike was left outside for years).  Instead of trying to find replacements, let's just do away with them both. 

To make a singlespeed conversion you first need a singlespeed freewheel.  In the past I used inexpensive Dicta freewheels, but new bike parts are getting rather expensive now.  I happen to have an old 5 speed Normandy freewheel with a worn out 14 tooth sprocket.  Using a pair of chain whips I was able to unscrew both the 14 tooth and 17 tooth sprockets from the freewheel body. After sliding off the remaining sprockets, I reassembled this freewheel with three spacers behind the 20 tooth sprocket.  Since this sprocket is splined, I screwed the 17 tooth sprocket back on to hold everything in place:

This setup is a little bit heavier than a proper singlespeed freewheel, but the goal here is cheap.

Next it's time to look at the front part of the drivetrain. After removing the 52 tooth chainring there is an issue with the chainring bolts:


You can buy shorter chainring nuts and bolts to fit a single chainring.  However, that costs money so that's not an option for this build.  Instead I can grind the nuts down to make them shorter.  An even easier option is installing 10mm or 3/8" washers in place of the large chainring.  These washers will take up the slack and allow me to fully tighten the bolts.

I ended up having to grind a flat side on each washer so they could fit properly on the crank spider, but that only took me a few minutes.  With all the washers in place, the chainring could be securely installed:

The chain needed to be shortened, so I loosely installed the rear wheel and looped the chain around both sprockets in order to find the right length. Since this frame has horizontal dropouts, there was a lot of room to adjust the chain length:


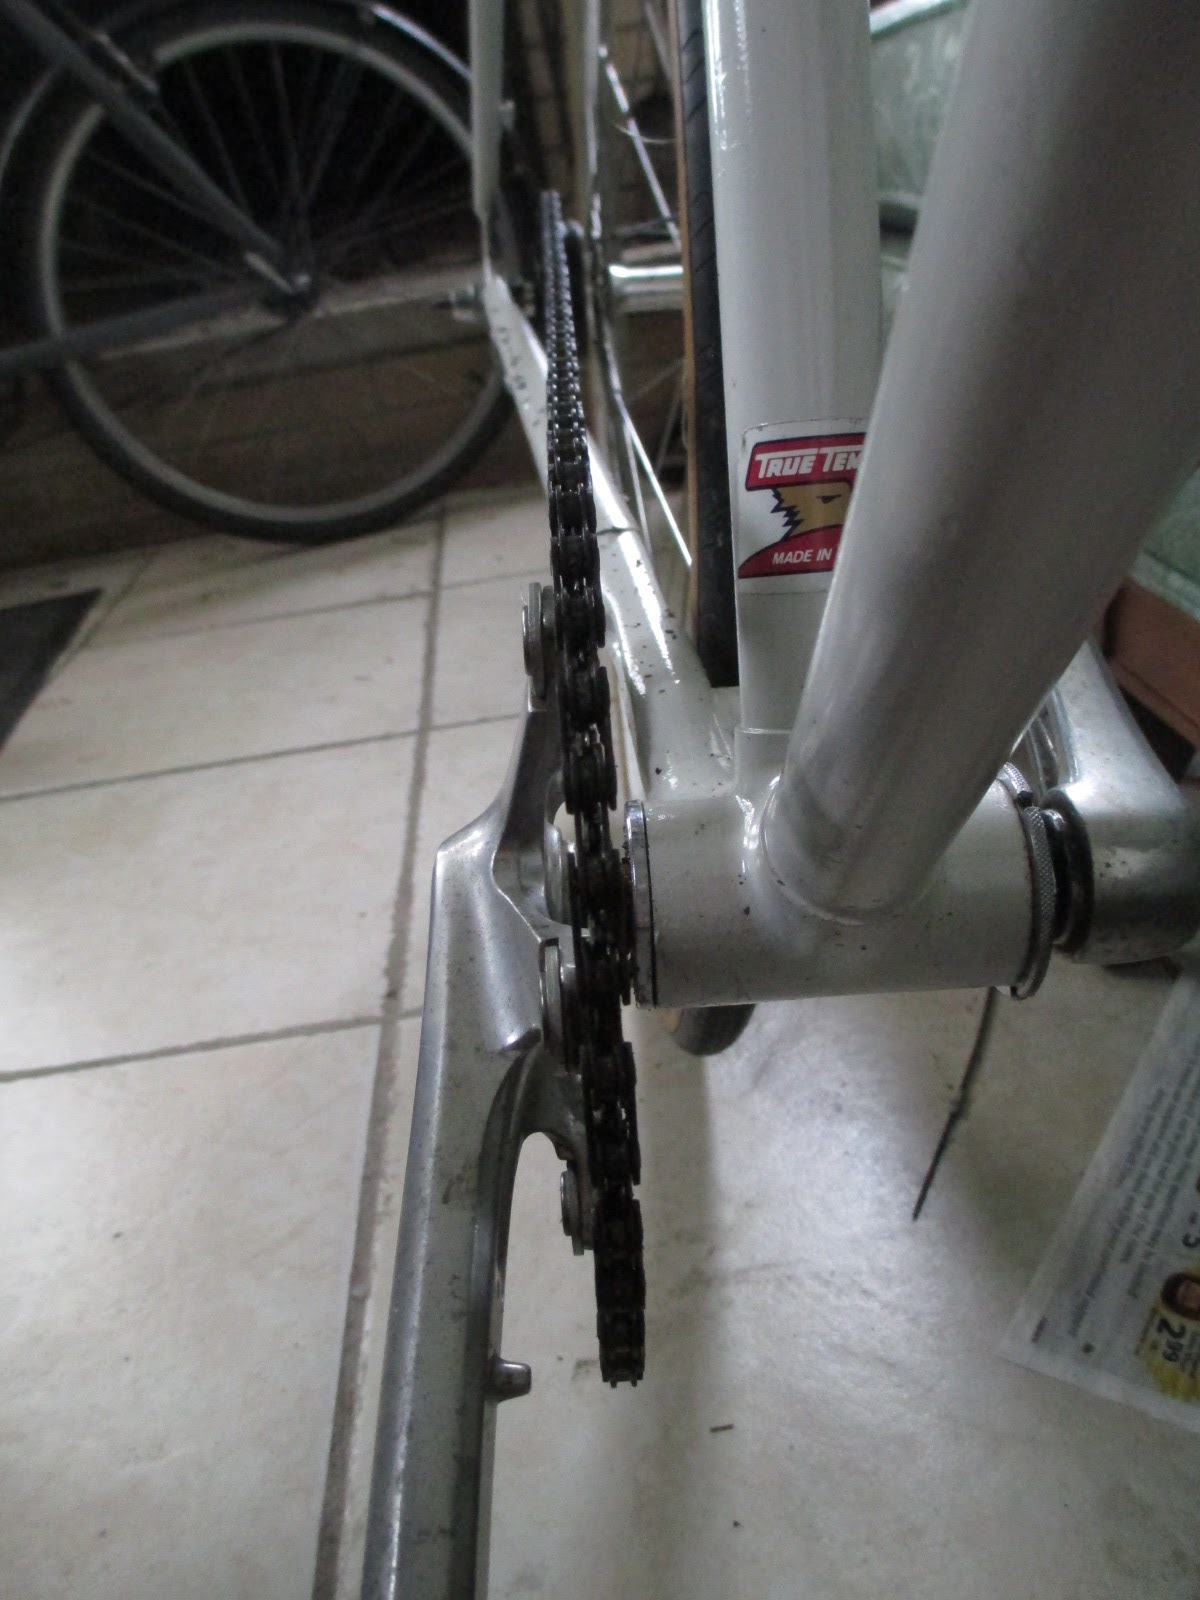
Getting the chain to run straight between the front chainring and the rear freewheel is the main concern when you convert a bike to singlespeed.  To accomplish that, I simply moved the 40 tooth chainring back to its original location on the inside of the crank spider.  This provided a nice straight chainline:


After reassembling the rest of the bike I spent a slightly painful amount money on new handlebar tape.  The drivetrain isn't the prettiest, but this bike rides quite nicely.

Repainting a Bike Frame

 I bought a Schwinn Traveler that has seen better days:

At first I sort of liked the dirty rusty paint, it looks like an old messenger bike that has been ridden for thousands of miles.  However, I live in the salt belt so it just reminds me of every old beater car I see on the road.  Time to deal with it.  I used a product called Naval Jelly to dissolve the rust and prevent it from returning:

After brushing it on the entire frame I left it overnight to do its thing.  Next I hammered out the headset cups with a tool I made from a length of metal electrical conduit:


Now it's time for the tedious part.  I sanded the existing paint (or at least whatever is left of it) with sandpaper and a medium grit sanding sponge.  The idea was to blend the chipped edges of the paint into the bare metal so that the edge lines wouldn't show through the new paint.  I also tried to avoid hitting the decals since I wanted to keep them.  After sanding, I cleaned the frame with denatured alcohol:

 Next I taped over decals with masking tape:


I should mention that I am not a professional painter, and I also didn't have the time or motivation to make this paint job look perfect. I just wanted the bike to look presentable from 20 feet away. Anyway, time for primer:

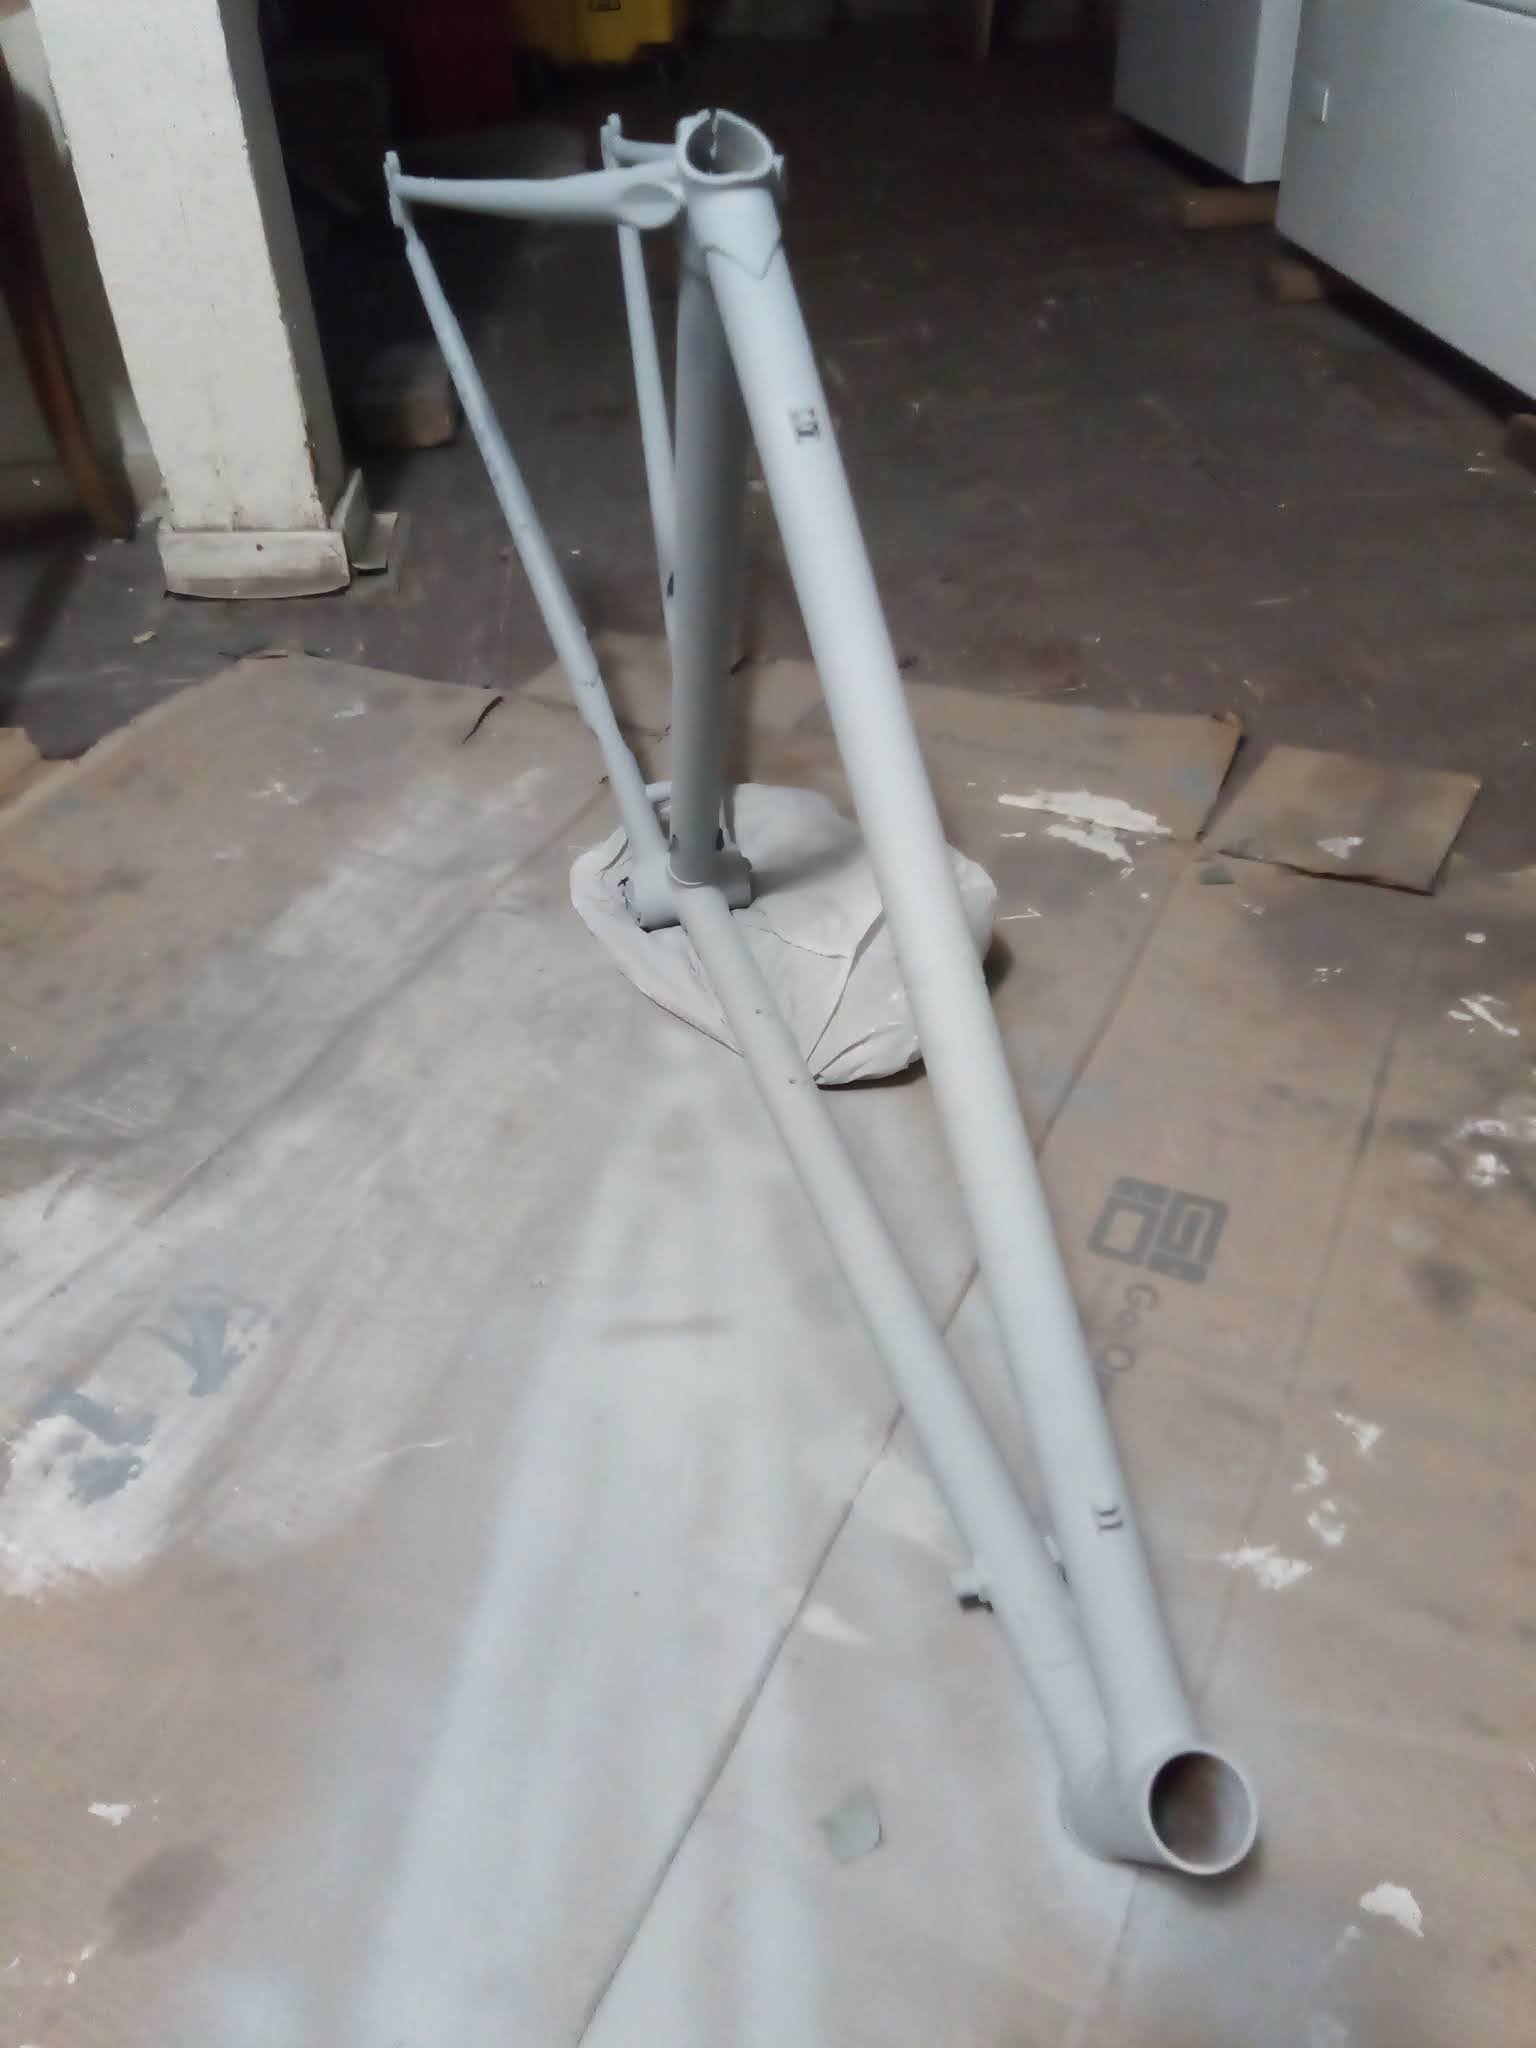
I sprayed three thin primer coats using a can of rustoleum automotive primer.  After that dried I used some string to hang the frame in my garage:

Spray paint cans are difficult to get a good finish with.  They tend to spray too much paint at a time, which causes drips and runs.  Also, the paint coming out of the can is very thin, so you will have to spray lots and lots of very light coats.  Instead I have a small air compressor and an inexpensive spray gun.  I mixed some rustoleum gloss white and almond colored paint together to try to color match the existing paint:

I also added enough mineral spirits to thin the paint.  The proportions were about half white paint, one quarter almond, and one quarter mineral spirits.  I set the compressor's air regulator to 60 psi and got to work:

The spray gun is much more forgiving than spray cans. I was able to lay the paint on pretty thick without worrying about drips.  After a few coats I peeled off the masking tape.  Much to my disappointment the new paint didn't match very well:

I touched up the areas around the decals by hand with a small brush.  The end result is much better looking than the rust.  It's not perfect, but I'm more than happy with it.

Saturday, March 27, 2021

Freewheel Removal Without A Special Tool

I previously wrote a post about destructive freewheel removal, but I want to revisit that procedure with better photos. Here I have an old Shimano 333 freewheel with their old style spline pattern. Removal tools for these freewheels are not widely available, so I disassembled the freewheel in order to remove it. First I removed the front bearing race with a hammer and punch. It is reverse threaded, so I had to rotate it clockwise: With the race removed, you can see lots of ball bearings inside. If you're careful then only half of them will end up spilling over your floor.


 Now I could pull the sprocket cluster straight off the freewheel body:


 Next I slid the pawls out of their retaining springs before clamping the freewheel core in a bench vise. 

Turning the rim counterclockwise allowed me to unscrew the freewheel core. Now I could reassemble the freewheel. I managed to keep the bearings in the sprocket cluster from falling out in order to save some time.

 After sliding the pawls back into their grooves, I used bearing grease to hold the 10 million ball bearings in place:


Here is the tricky part. It's hard to install the freewheel core back into the sprocket cluster when the pawls are sticking out. I push the two halves together at an angle so that one pawl is inside the sprocket cluster to start with. Then I push the other pawl in with a screwdriver while pressing the pieces together.

Once the two halves are joined together I added some motor oil to thin out the grease:

Finally I screwed the front bearing race back on with the hammer and punch in a counterclockwise motion:

Saturday, March 20, 2021

Sticky Shift Cables

I noticed that the shifting on my Fuji was pretty sluggish today.  Last year I made the mistake of using wheel bearing grease to lubricate the rear derailleur cable. I normally use motor oil and reapply it every few years, and I never had problems with oil. However, the grease that I put on the cable must have gotten thicker while sitting over winter because there was a lot of resistance.  Anyway, time to fix my mistake.

First unscrew the cable pinch bolt:

 
Next pull the cable out of the derailleur and cable housing:

If you are putting a new shift cable on your road bike, then this is where you can pull it out of the shift lever:
 
I didn't need to change this cable, however. I just needed to slide the inner wire out of the housings so I could clean off the grease and apply fresh oil:

 
After threading the inner wire back through the cable housings, I secured it to the derailleur's pinch bolt and used my fancy crimp pliers to add an end ferrule:

The last step is to adjust the indexed shifting, since I had to unbolt the cable from the derailleur.  I like to shift the chain onto the second largest cassette sprocket, then turn the barrel adjuster on the derailleur until the guide pulley is centered under the sprocket:

Turning the barrel adjuster clockwise will move the derailleur slightly to the right. Turning the adjuster counterclockwise will move the derailleur slightly to the left.

Moral of this story - don't use grease for shift cables.